If you have read my Lemon Breasted Beer Can Chicken article, you know the issues I have with cooking beer can chicken, and why it's not really one of my favorite ways to cook a bird.
Take a look at most any cookbook on your shelf. There are not many recipes older than oven roasted chicken, the combination of herbs and liquids is a classic one.
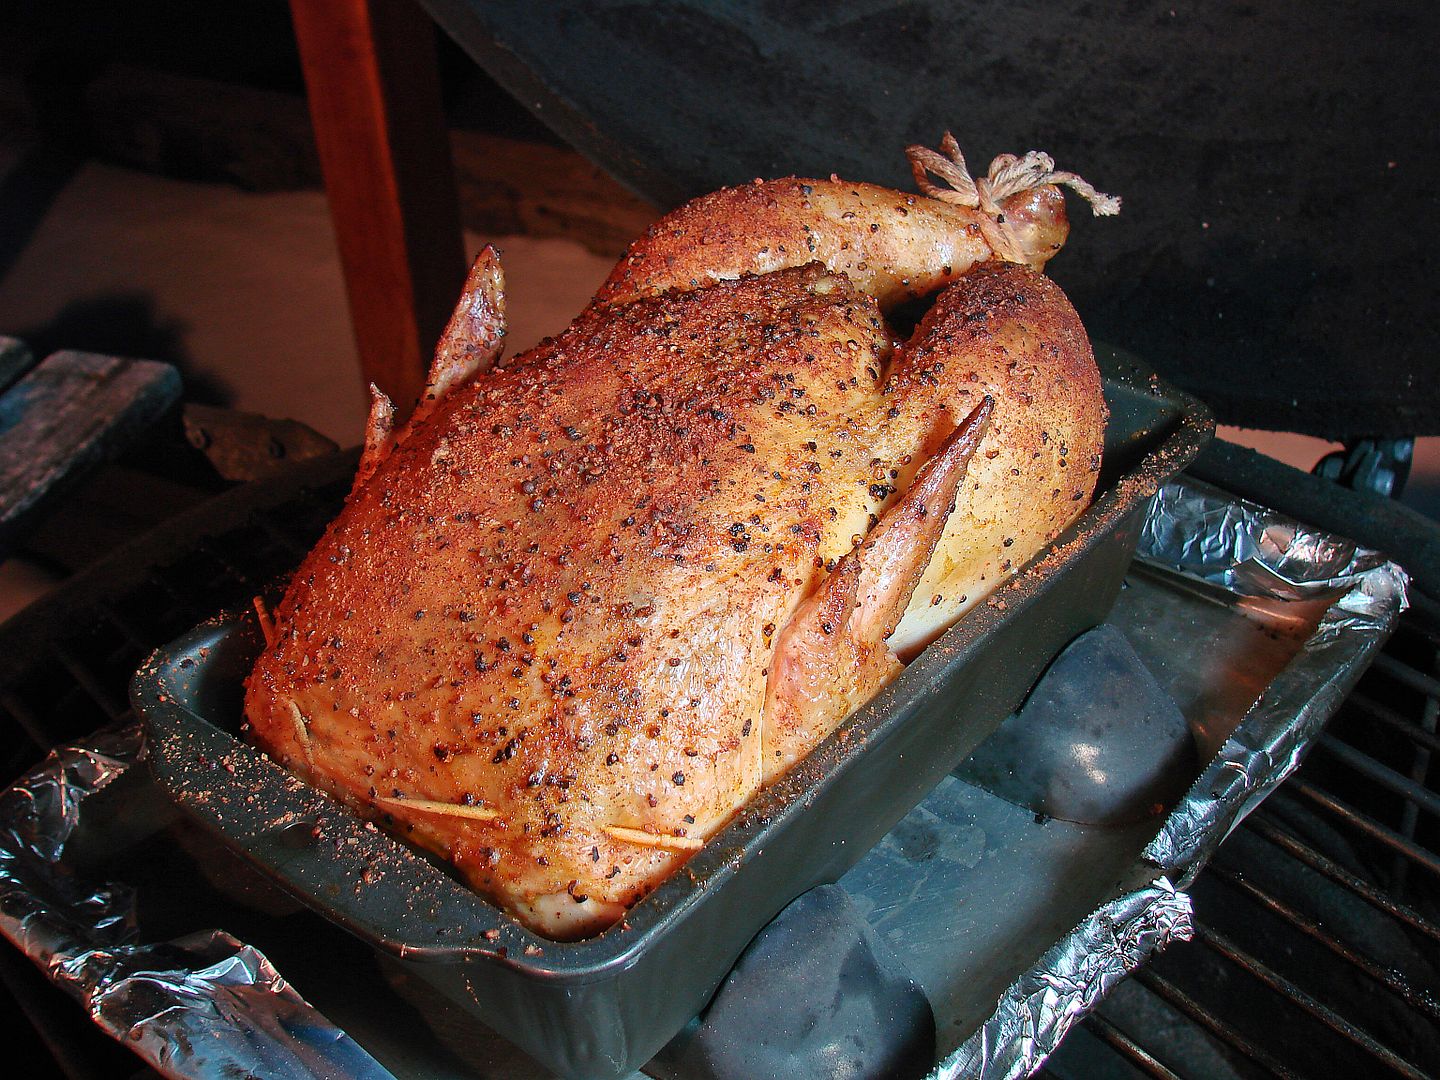
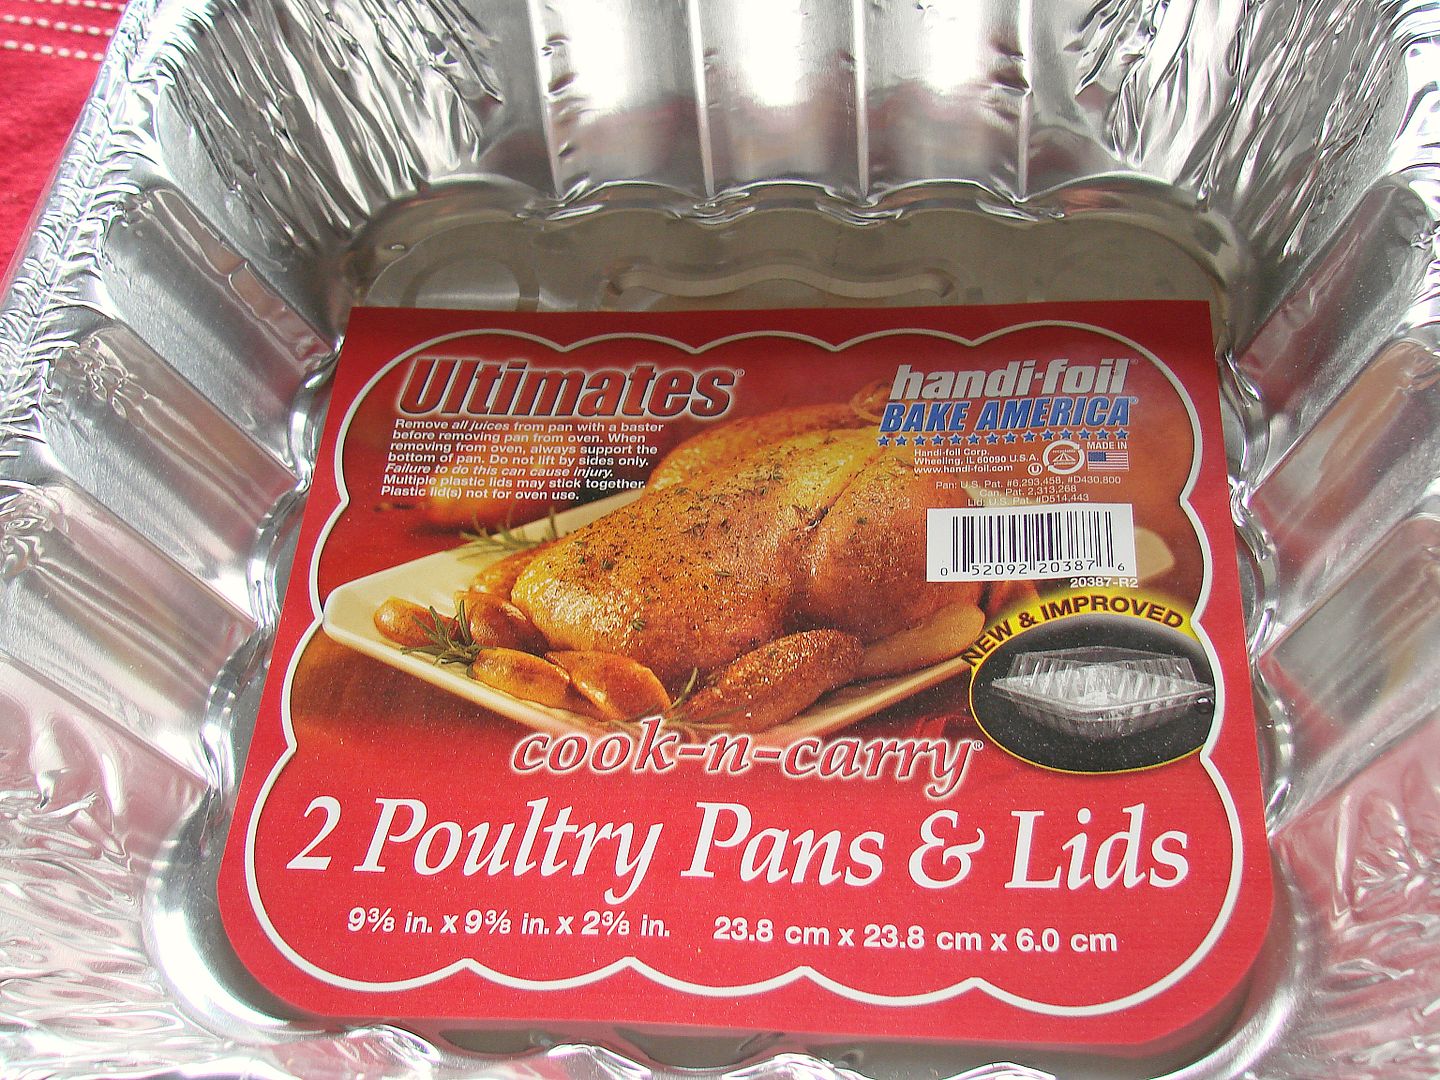
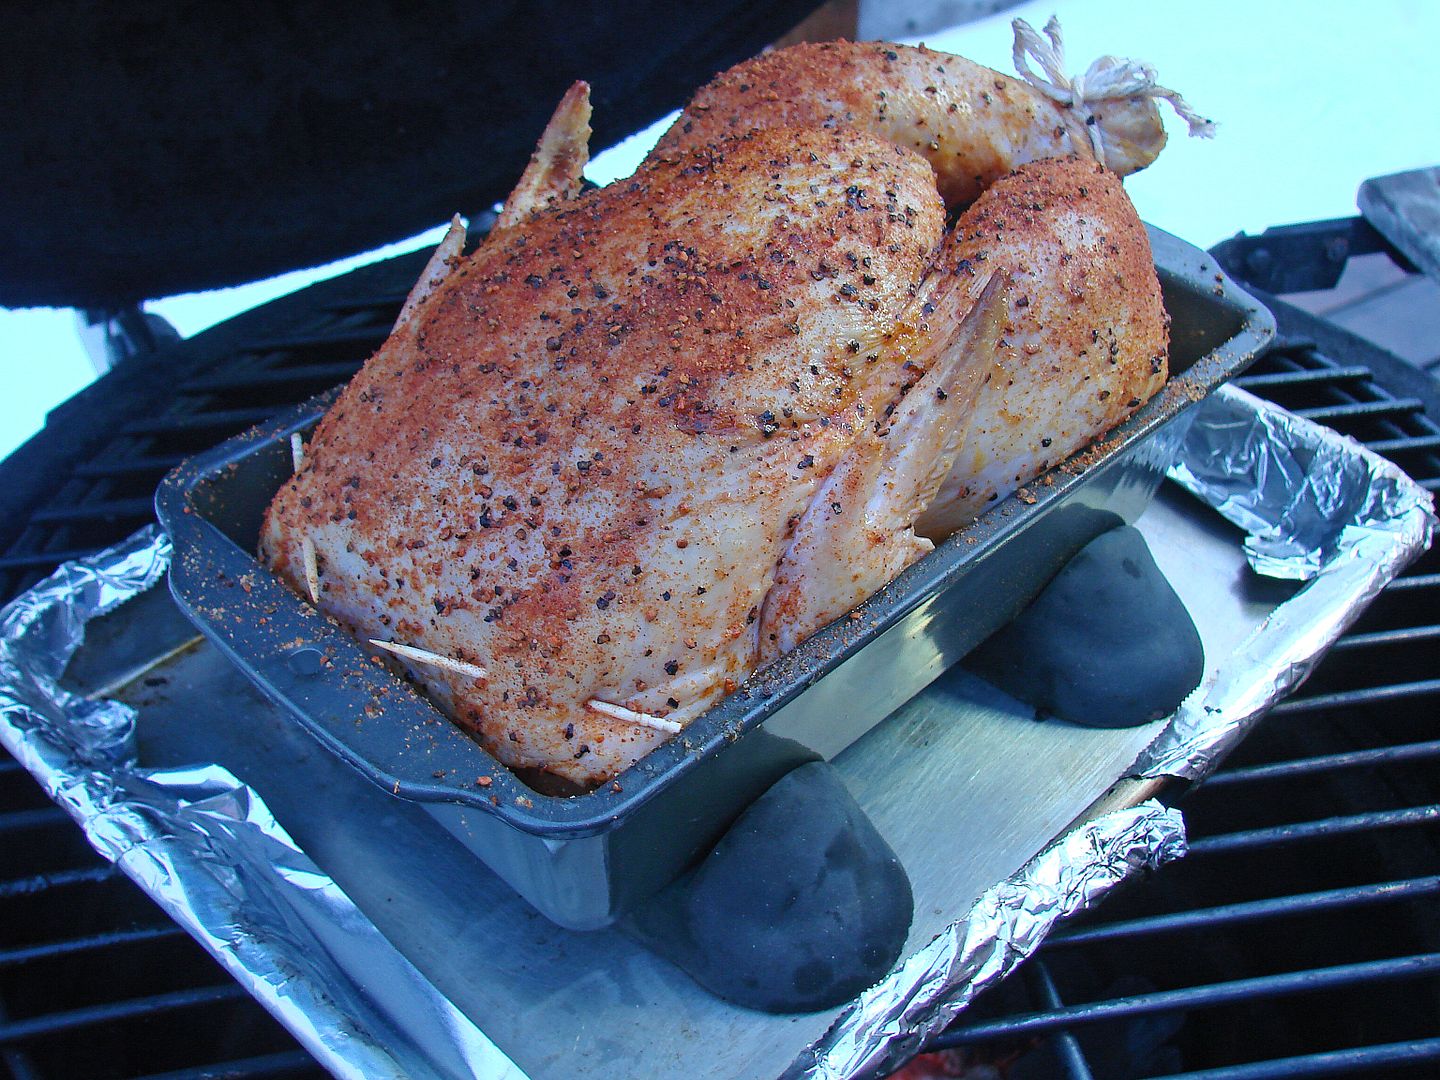
Of course some flavor smoke makes it better. Beer Pan Chicken is just like beer can chicken, except the bird is horizontal instead of vertical. In this recipe, the liquid is beer, but it could be wine, or yes even some broth. I season my chickens under the breast skin, then on the outside of the skin. Use whatever rub you like. For additional flavor, add some fresh herbs or lemon slices or flavored butter under the breast skin. The whole bird can be brined if you like them that way. If you are a fan of injecting.... go for it. Feel like using some aromatics like green onions or cloves of garlic inside the cavity? I say "why not"? It's a good idea to pin the skin down with some toothpicks to avoid it shrinking. Tie the legs too. Any pan will do, the deeper they are the less liquid will cook off, and the more you will have for basting. You can buy disposable pans especially for roasting chicken, they are nice and deep. Not bad considering the easy clean-up. These have a plastic dome cover, a bonus for resting and transporting.

A bulb baster works really good for basting, don't worry you will have plenty of juice. Place the bird in the pan breast up, add about a half cup of beer and put the whole outfit in the cooker. At the one hour mark, check the liquid level and add some if needed (but I rarely need to).

TIP - To make sure you don't over cook the breast you could freeze the lemon slices before inserting inder the skin, or you can lay a bag of crushed ice on the breast for an hour to chill it down. But as you will see later on the doneness of the breast and thighs comes out prety close without any extra help.
COOKING
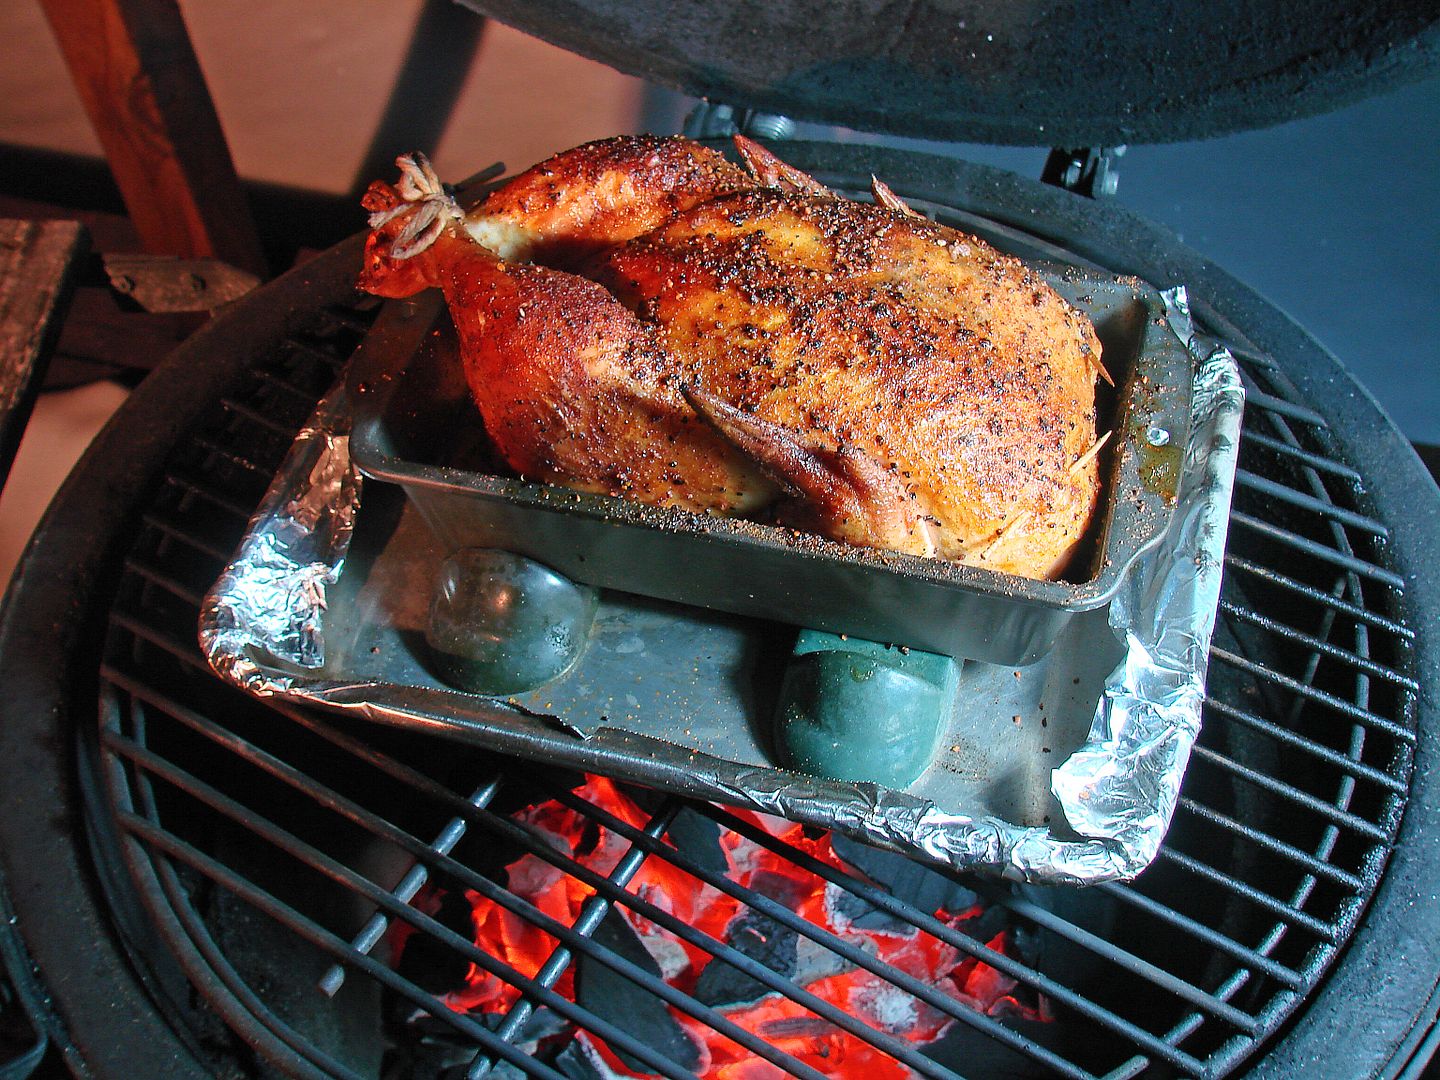
The cook is simple enough. Get your cooker in the 300° to 325° neighborhood, and use some sort of indirect set-up. Notice in my picture I'm using my Big Green Egg. I have a 1/4 sheet pan for a heat deflector and I'm using some ceramic feet to add some air space between it and the roasting pan. You could use a pizza stone or some fire bricks too. In a kettle, put your coals all to one side and cook on the other, or put them on both sides and cook in the middle of the grate. I rotate the bird at least once to balance out the doneness and the color. If your bird starts to get too dark, just tent it with foil.

COOK TIME & OBSERVATIONS
In my Big Green Egg at 325° the cook time for an average chicken is 2 to 2-1/2 hours. The breast and thigh seem to heat up at the same rate until they reach 100°, then the broth in the pan (and the natural juices from the bird) begin to simmer and the thighs rise in temp. At the 2 hour mark I have measured the breast in the 150°'s and the thigh in the 170°'s. When the thighs are 175° to 180°, the breast is usually 162° to 167°.