The art of salting, curing and smoking could possibly be some of the oldest cooking techniques known to man. Almost every culture does it to some degree. Cured products include hams, sausages, salami, bacon, seafood and vegetables. Home curing takes some thought and some common sense. The techniques are not hard, you just need a little time and you must pay attention to detail.
Buckboard butt bacon
~~ Follow a typical Buckboard loin from trimming through packaging ~~
This pictorial can be found at the end of the page.
All of us have "brought home the bacon" at one time or another but did you know that "makin' bacon" is not that difficult? Like most things, home-made bacon is superior to most store bought bacon. In the United States, bacon is cured then smoked for flavor. All you need is meat, curing salts, seasonings, time and a smoker. Typically pork belly is used for bacon but when pork butt or pork loin is used for bacon it is called Buckboard bacon. Buckboard bacon is nothing new, the pioneers made it often because nothing on a pig ever went to waste. Sometimes you will see it called pioneer bacon, or homesteader bacon, but basically we're talking about a piece of pork other than the belly, which is cured and smoked.
Meat can be cured with a brine or with a dry cure. In this how-to, I'm focusing on the dry cure method. Dry cures can be made from scratch or come pre mixed. They are basically nitrates and/or nitrites in a salt "carrier". Because the amounts of nitrates are very small It's better to purchase a pre mixed curing product. A very common commercial dry cure is called pink salt. It has a concentration of 6.25% nitrite in a salt carrier. It is colored pink to distinguish it from regular salt. Morton's Tenderquick was introduced specifically for home curing and it has a 0.5% concentration of nitrite and a 0.5% concentration of nitrate (1% total). Hi Mountion seasonings sells a product called Buckboard Bacon which is also for home use. It contains 0.7% nitrite and has some seasonings already mixed in. As you can see. Tenderquick and Buckboard are much weaker than "pink salt", so I usually refer to them as a "flavor cures".
For now I'm going to focus on the home curing products. I'll start with Tenderquick, it is more readily available than the Hi Mountain Buckboard cure. Look in the home canning section of your supermarket, Tenderquick comes in 2 pound bags. Now, for one reason or another Morton's is intentionally vague when it comes to exact amounts of cure and curing time for specific products. Some of their recipe books have been around for years, and Tenderquick does have a variety of uses. I have visited with the product division on the phone regarding methods of curing loins and butts, and although they were not familiar with the term "buckboard bacon" they did understand what I was after. "Canadian bacon" is what they call loin bacon. When I really put them on the spot regarding recommended methods and techniques, they advised me to "use a proven recipe and technique". And so, here is my Tenderquick cure:
~~~~~~~~thirdeye's Tenderquick Cure for Buckboard Bacon~~~~~~~~
Per ONE pound of pork loin or boneless pork butt:
1 Tablespoon of Tenderquick
1 teaspoon of brown sugar
1 teaspoon of maple sugar
Sprinkle of black pepper to the meat before adding the curing mixture, maybe a little more after the soak-out (this is discussed below)
(I think the Hi Mountain Buckboard cure has a hint of garlic powder in it too, but the label does not mention it, so if you want to add some that's up to you)
--------------------------------------------------
Hi Mountain Buckboard Bacon Cure
Now I want to introduce you to a ready-to-use cure sold by Hi Mountain Seasonings. I'm partial to it because it's an excellent product, comes pre measured (in amounts for 8.3 pounds of meat) & premixed, and it is made in Wyoming about 100 miles from my house. Hi Mountain's instruction package is so complete there is no need for me to post any how-to pictures. Many sporting goods stores in the west carry this cure along with jerky and sausage seasonings. Buckboard bacon can be purchased from the manufacturer by clicking here. You can preview the instructions by clicking here.
Below are three methods to determine the correct amount of Hi Mountain cure to use on pork. I prefer to weigh my cure in grams. These amounts are per ONE pound of meat.
By measure ........... 1 Tablespoon + 1-1/4 teaspoons per pound of meat
By weight ........... 3/4 ounce (.75 ounce) per pound of meat
By metric weight ... 21.25 grams per pound of meat
I use a gentle sprinkle of black pepper before adding the cure and following the soak out (this is discussed below).
Example 1: A 5 pound boneless pork butt requires 106.25 grams of cure.
Example 2: A 3/4 pound boneless pork chop requires 16 grams of cure.
Example 3: A 3/4 pound bone-in pork chop requires 13 or 14 grams of cure. (estimate the bone weight and subtract that from the total weight)
--------------------------------------------------
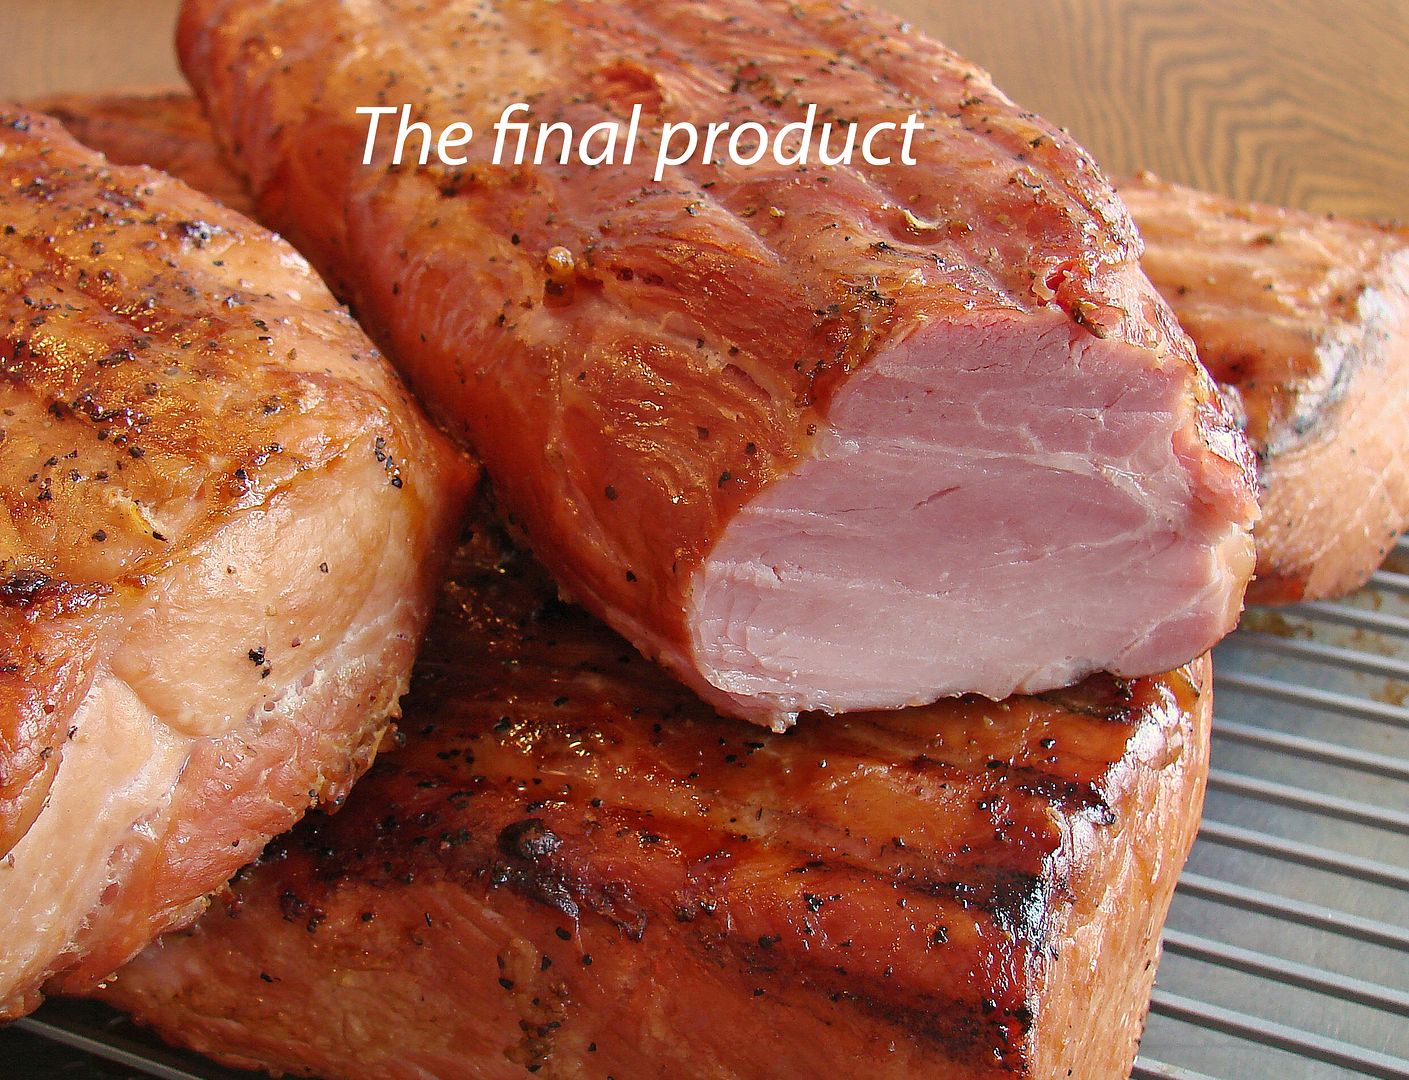
Now that I've touched on Tenderquick and Buckboard cures, I'm going to give you a summary of the process, then show you what the finished product looks like.
General instructions for Tenderquick and Buckboard Cure:
UPDATE - June 2014. Quite by accident I had a rib end loin roast which has been injected with 2 or 3 ounces of my Lite Brine (1 quart of water, 7/8 ounce canning salt, 1 teaspoon of white sugar) and refrigerated for 4 to 24 hours. You can also use my Lite Apple Brine or Lite White Grape Brine (which uses juice instead of water + sugar) the ratio is 1 gram of salt to 1 ounce of juice... this is injected 4 to 24 hours before applying the cure. I applied the proper amount of my Tenderquick based Buckboard cure, and cured the loin for 6 days, soaked, rested overnight in the fridge and smoked. This was one of the moistest loins I have ever Buckboarded, and I've done a lot of them. From now on an injection will be standard procedure for my Buckboard loins.
Okay, back to the general instructions. Start with a boneless butt, loin or tenderloin trimmed of excess fat. Use only meats that are marked "fresh" or "natural", do not use enhanced meats. Measure the amount of cure based on the weight of your meat. Don't use less than the amount of cure called for, it's okay if you go a little heavy on the measurement.
Sprinkle the meat with a little black pepper. Rub on the cure and massage into the meat. Place in a nonmetallic pan, plastic "zipper bag", or a vacuum (FoodSaver) bag with only a partial vacuum on it (see tips below for an explanation). Store in your refrigerator for up to 10 days (curing time is based on thickness of your meat) turning a few times. Rinse the cured meat. Soak the cured meat in cold water for a minimum of 2 to 3 hours, or up to 6 or 8 hours if you are salt conscious, then drain and dry. If you have washed off some of the black pepper, add another sprinkle. Rest in the refrigerator from 2 hours to overnight, the longer the better. The rest allows the cure to disperse more evenly. In curing circles the rest is referred to as equalization. Smoke the cured pork until the internal temperature is 140° to 150°.
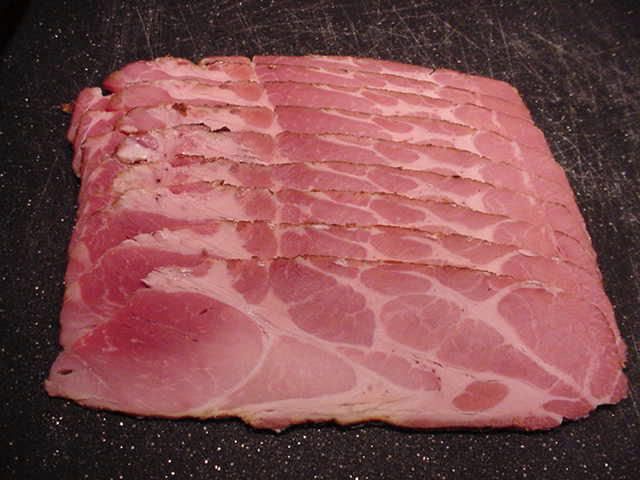
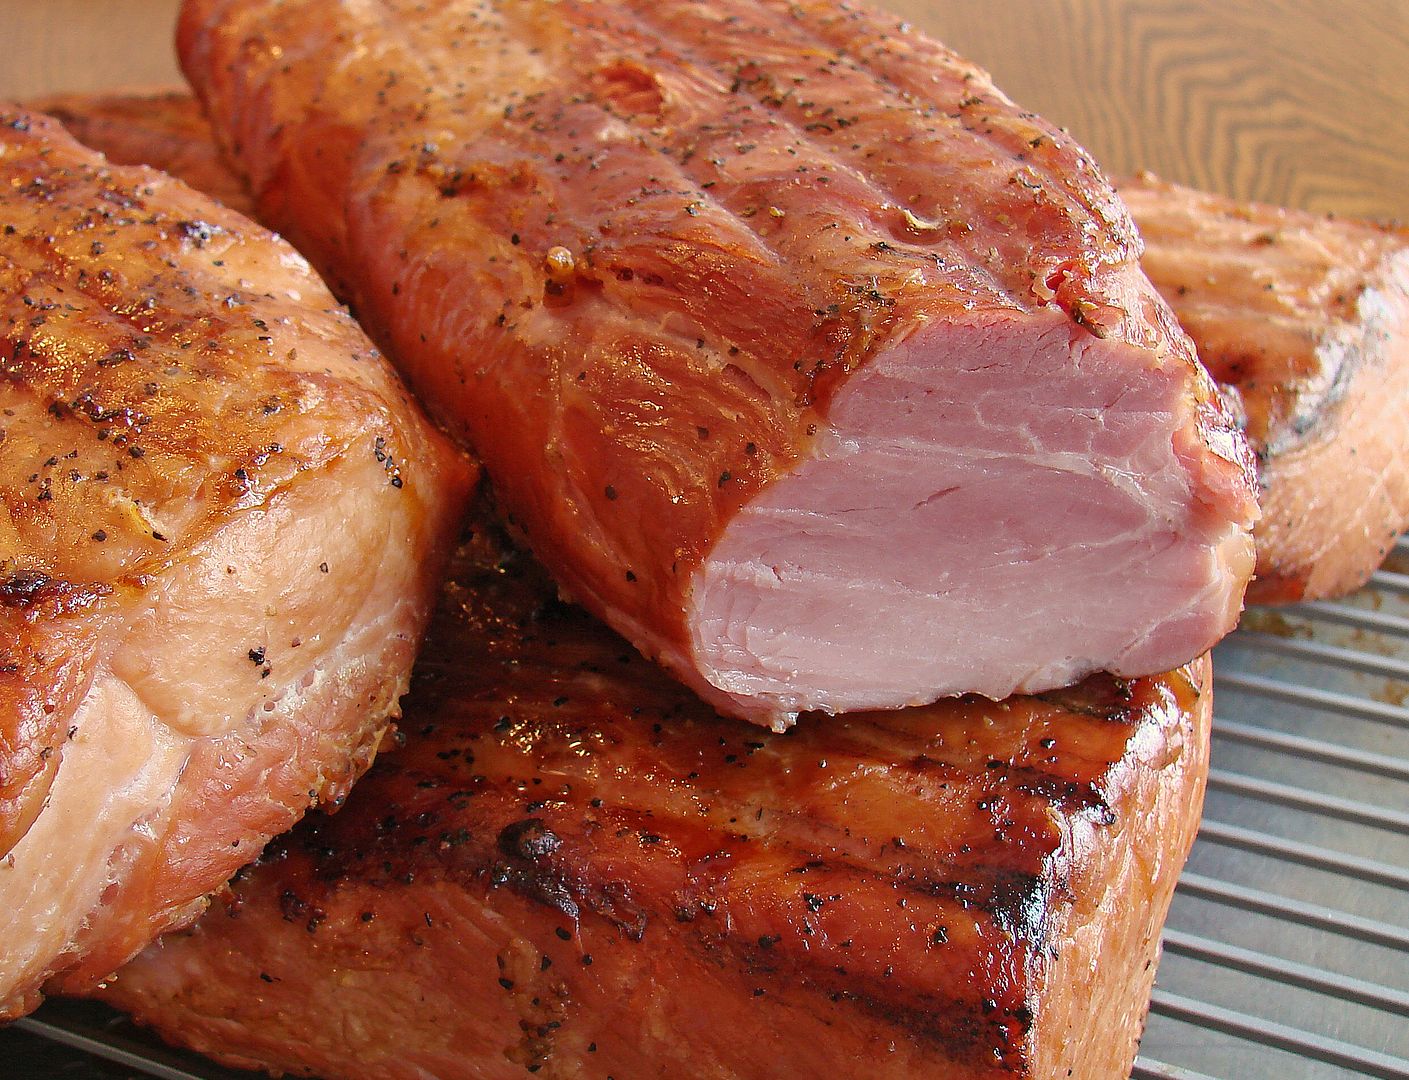
To prepare for eating, just rest for an hour, slice it and try it out. You can lightly fry, microwave, bake or grill it. Since the buckboard is not a preservation cure, the bacon needs to be stored in your refrigerator. It will keep for 4 or 5 days. Since buckboard bacon is so much lower in fat than belly bacon it cooks much faster. Pork loin bacon resembles Canadian bacon, pork butt bacon resembles ham. If you want to slice it for packaging and freezing, let it chill overnight first.
Here are a few more tips I've put together:
* Curing time is based on meat thickness: I use 9 or 10 days curing time on a 3 to 3-1/2 inch thick butt. About 8 days on a 2 to 2-1/2 inch thick butt. About 6 to 7 days on an average loin. About 5 days on a tenderloin. Going a little longer on the cure times is okay, using shorter cure times may not fully cure your pork.
* The ideal temperature for your refrigerator during curing is 35° to 40°. Colder than 35° will slow down the curing process, I don't recommend using temperatures warmer than 42°.
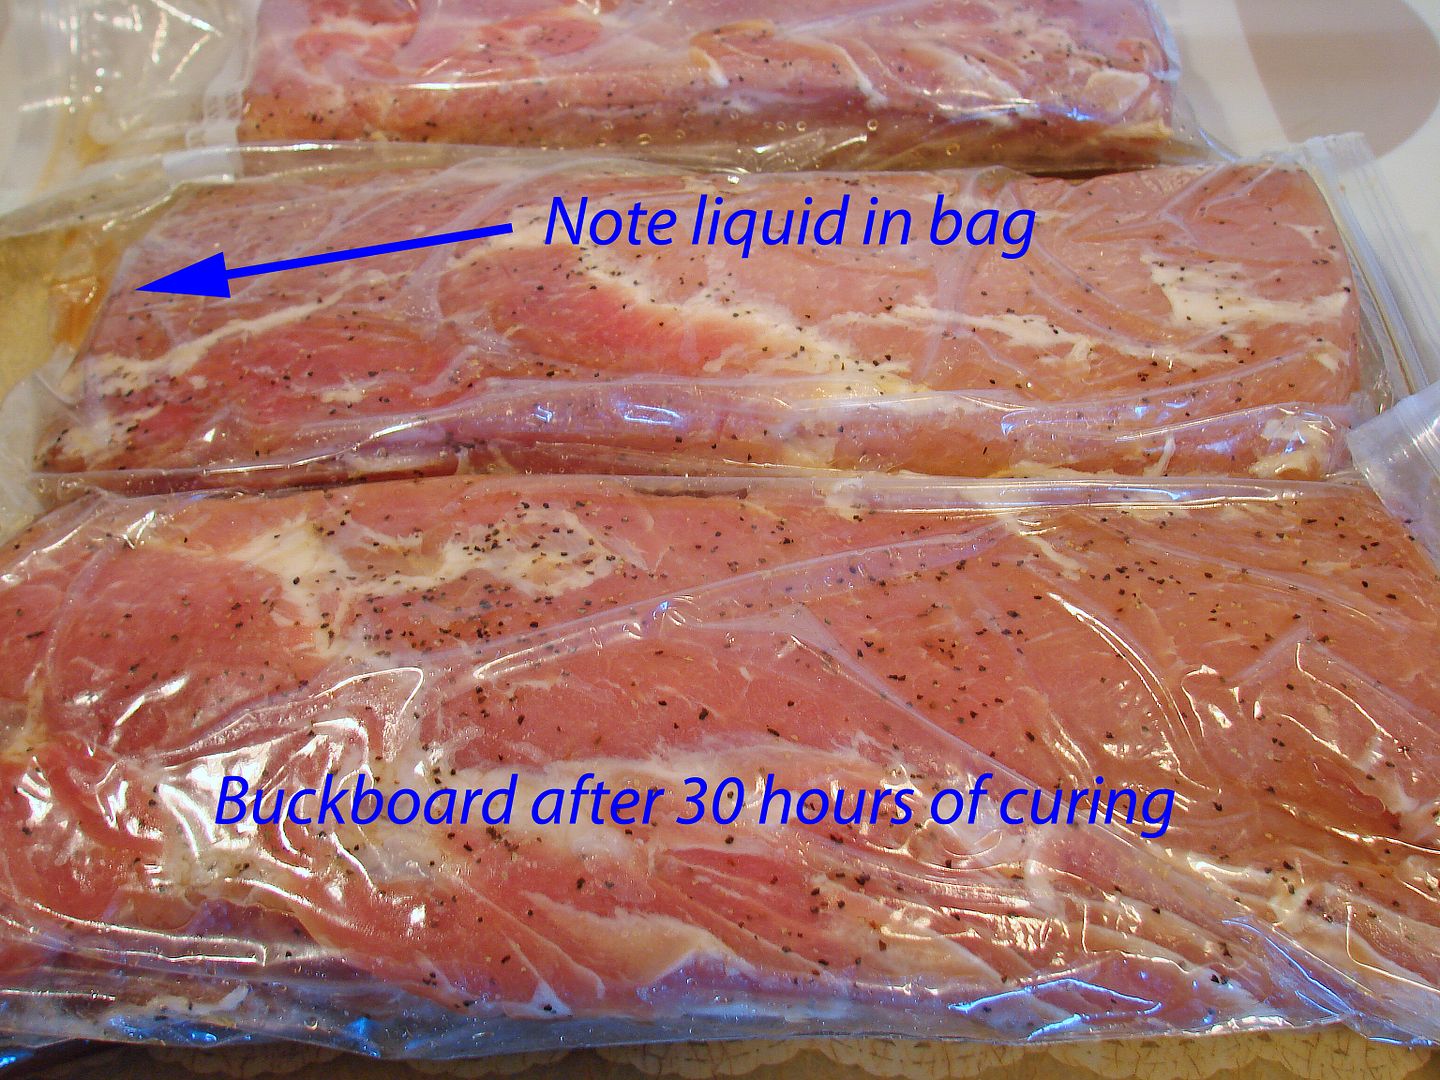
* During curing, liquid will accumulate in the bag or container. This is normal as the cure is extracting water from your product. Don't pour off the liquid as it acts as a brine.
* You want to keep the liquid in contact with the meat. Because of this I turn my bags of meat at least every 24 hours.
* Although a plastic container or zipper bags work fine, I prefer using a vacuum (FoodSaver)type bag for my curing. What I do is place the prepared meat into vac bags, but I DON'T pull a full vacuum on them. You might call it a 3/4 vacuum. First, I want the bags sealed more securely than a zipper bag. Second I want most of the air out of the bag so that the brine that forms is in closer contact with the meat. I have a theory that a full vacuum may restrict the liquid leeching out of the meat.
*Parts of Hi Mountain's smoking instructions are written for an electric smoker. (They make references to drying the bacon with low temps, then adding smoke. They also mention turning off the smoker at the completion of the process) Depending on what kind of equipment you use, some modification of the technique is in order. Here is how I smoke Buckboard bacon it in my smokers, which are both charcoal fueled cookers.
In my Big Green Egg: My first choice is to use a direct setup with raised grate & grate extender (very raised direct). My cooking level is about 12" above the coals. (Second choice would be to use an aluminum pan or platesetter as a heat shield) I like a 180° pit temp for 2 hours, then ramp the temp up to 200° until the internal temperature of the meat is 140° to 150°. Every 30 minutes or so I drop a few chips through the grate and onto the coals, which is why I like the very raised direct method.
In my Big Drum Smoker: I use the mini charcoal ring with a chunk of wood on top of the coals. I like a 180° pit temp for 2 hours and ramp the temp up to 200° until the internal temperature of the meat is 140° to 150°. UPDATE - 2015 If you have the ability to hang meats in your drum, try hanging 1/2 loins which have been buckboarded. I place the hooks in the largest end of the roast.
Following smoking: I wrap in foil and rest a few minutes, then chill for slicing. When slicing butt bacon, you can make the slices thick or thin depending on your tastes. Loin bacon can be sliced into smaller chubs,(4" to 6" in length) or into individual slices. For preparing individual slices lay pieces on wax paper, layering bacon and paper as needed then freeze. After an hour or two, remove the slices and store in a zipper bag.
Here is a technique that comes by way of Guest Pit Boss, Rocky Richmond (designer of the Big Drum Smokers), and he used it on his first batch of Buckboard Bacon. He broke several butts down into smaller pieces going about 7 days of cure time on the larger and 5 days on the medium ones, clear down to 1 day cure time on what he called scrap pieces. (scroll down to the cross section picture of the full boneless butt and you can get the idea how this was done) The smaller pieces require less cure time that a whole butt, which is an advantage over the 10 day cure required on a full size one. The cook time is also reduced. It also dawned on me that not everyone has access to 8 or 9 pound butts, (or maybe you are not that handy with a knife) so using a smaller one from the meat case is an option too. Just make sure it is fresh pork, not one that has been enhanced or injected with any liquids, and try to pick ones the same size.
For the cook, Rocky used a Jumbo BDS with a mini charcoal ring, and Rancher brand charcoal and used smaller pieces of peach, apple and hickory woods. The starting pit temperature was 145° and was ramped up to the 175°-200° range toward the end of the cook, which took 2-1/2 to 3 hours for the medium and large pieces. Here are some pictures of his cook.
~~~~~~~~~~~~~~~~~~~~~~~~~~~~~~~~~~~~~~~~~~~~~~~~~~~~~~~~~~~~~~~~~
Buckboard Chops
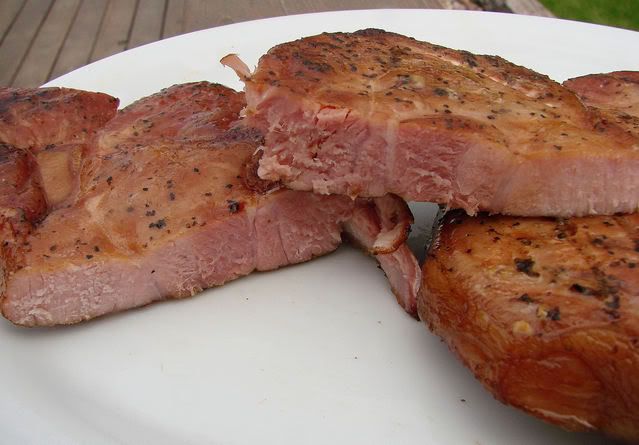
You can also use the buckboard cure on pork chops. Because of the soak out and rest times I use, these are mild and delicious, and similar in flavor to a ham steak or the more expensive "smoked pork chops" you see in the market. I start with two, 3/4 pound pork chops, lightly peppered then cured with 32 grams (or 2.2 Tablespoons) of Hi Mountain for 48 hours. (Remember if you have bone-in chops, reduce the amount of cure to compensate for the bone weight).
Following the cure time, soak them in water for 6 hours (in the fridge), then rinse and and rest (also in the fridge), about 6 or 7 hours. Smoke them as close to 180° pit temp, until the internal is 150°, which will take about 90 minutes. If the weight of your chops is different, make sure to weigh out the correct amount of cure. If you can't hold 180° in your smoker, shoot for 200° or 225°
PHOTO GALLERY
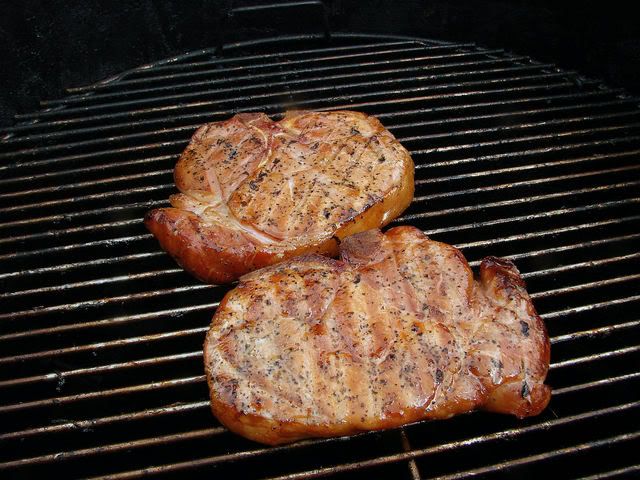
These are some buckboarded chops on my Big Drum Smoker
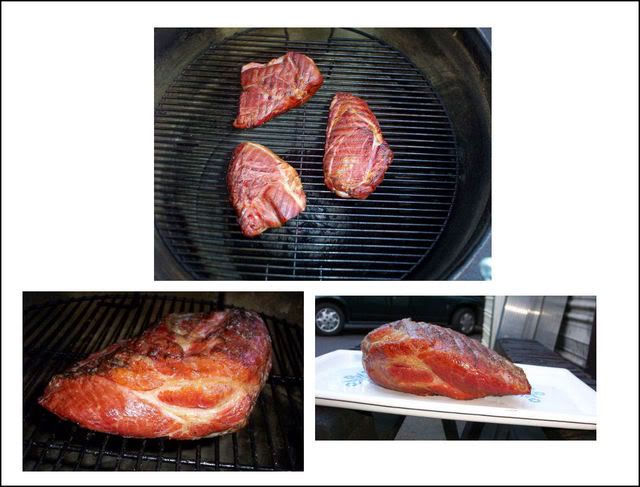
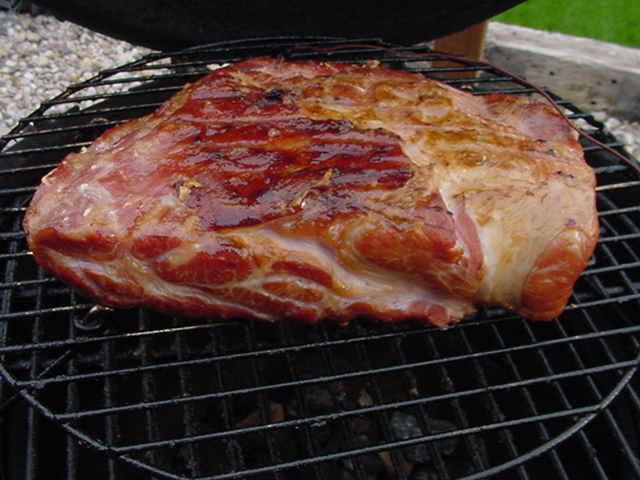
Here is a boneless butt on my Egg
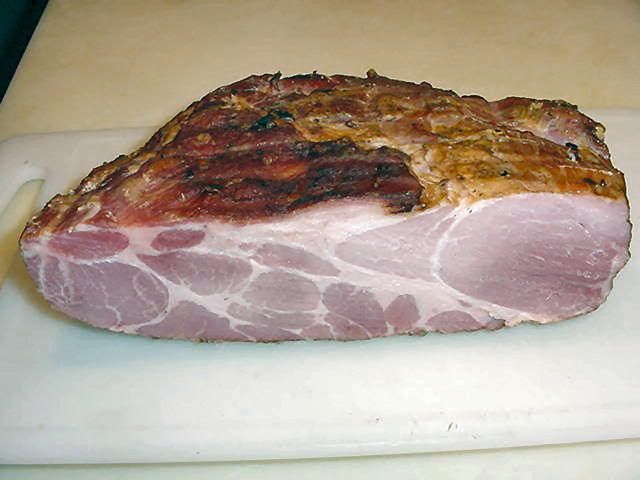
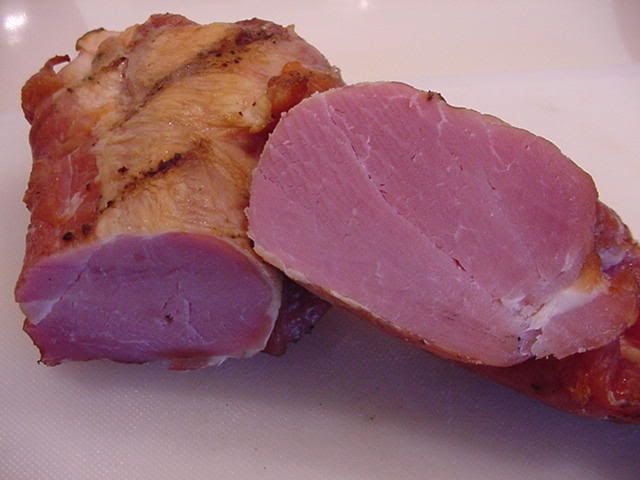
Here is the same butt chilled.
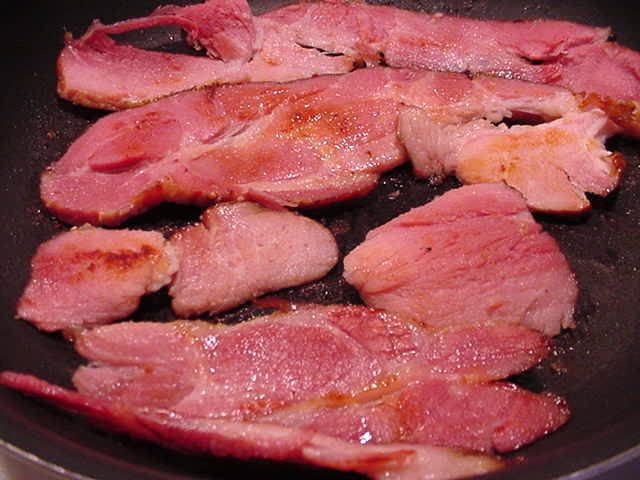
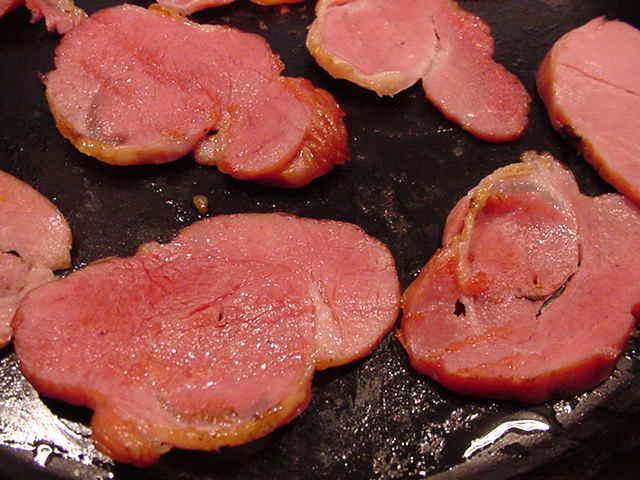
Butt bacon in the frying pan
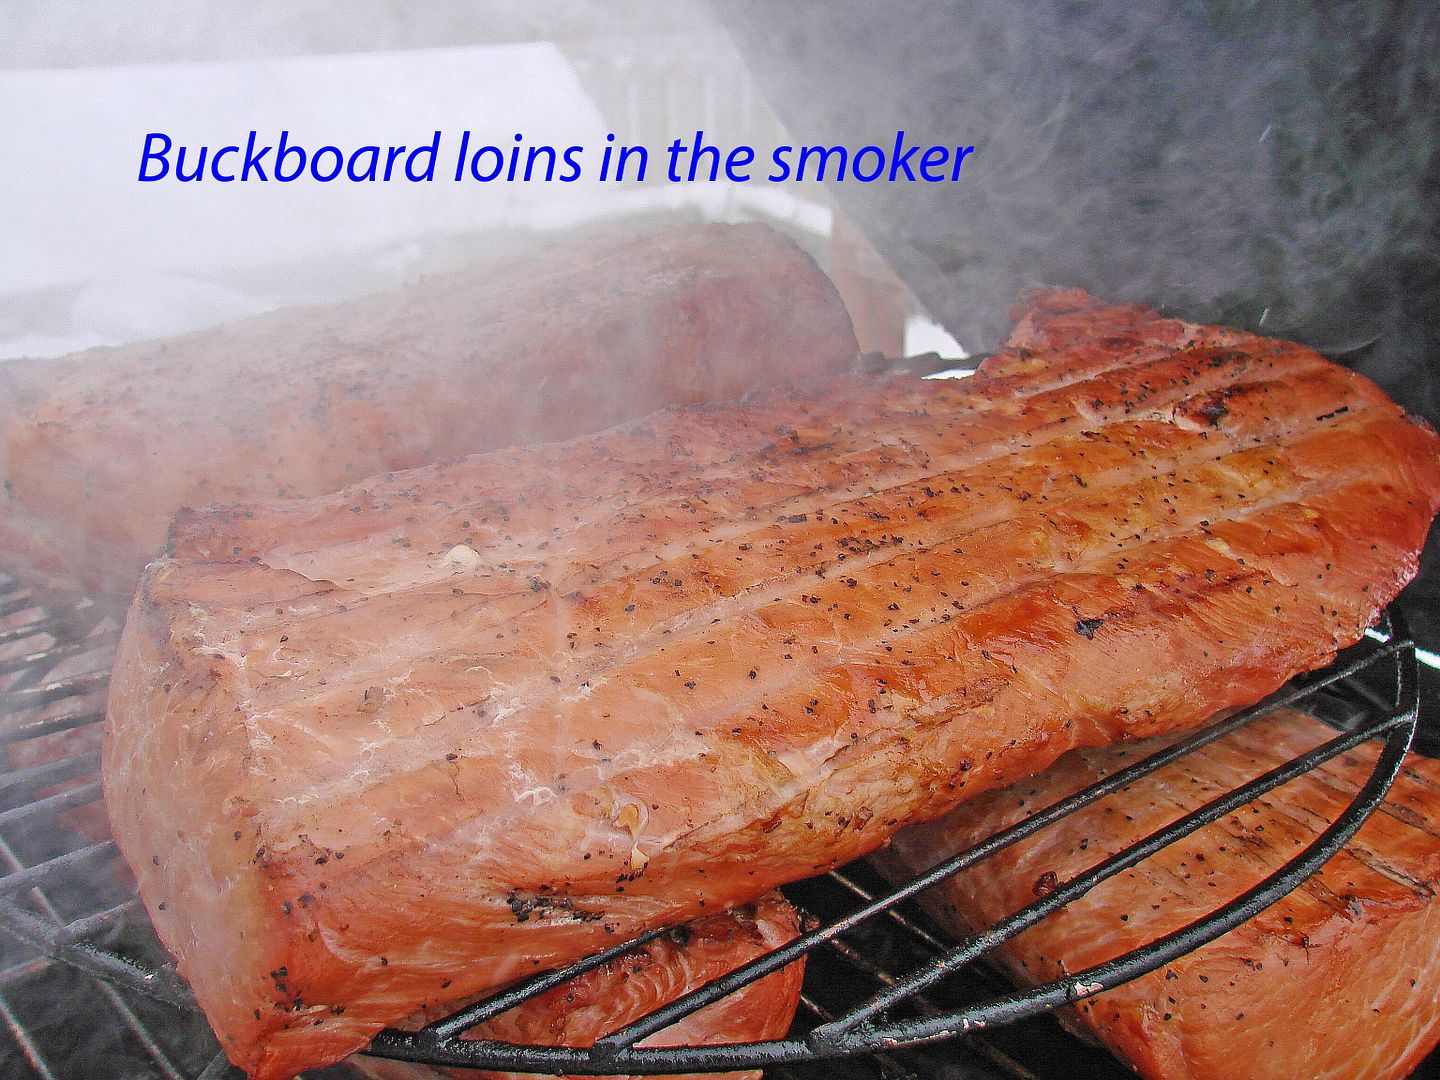
Two loins smoking in my BDS, one maple flavored & one peppered

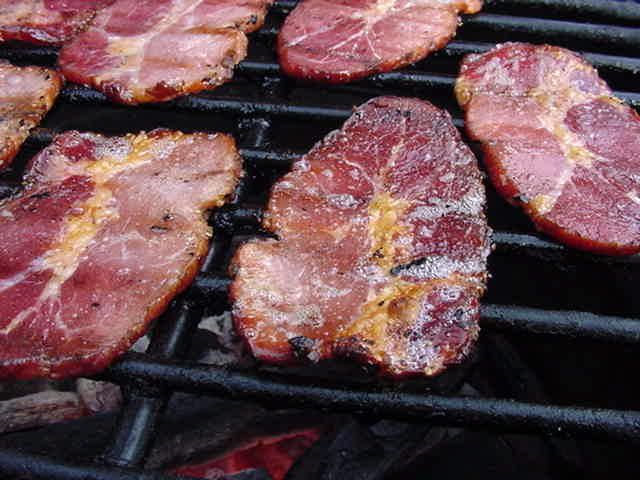
Loin bacon grilling on my small Egg
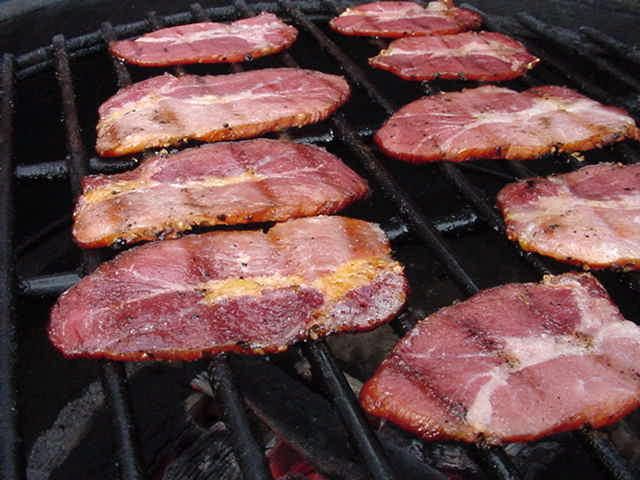
Loin bacon grilling on my small Egg
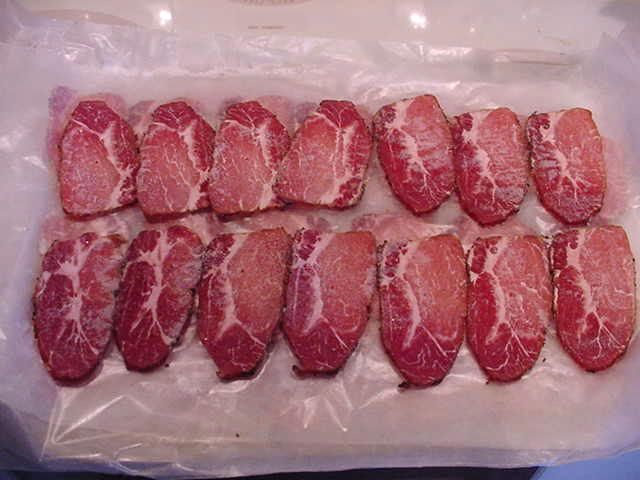
Tenderloin bacon chilled and ready to slice
Tenderloin bacon in the frying pan
Loin bacon sliced and frozen on wax paper, ready for zipper bags.
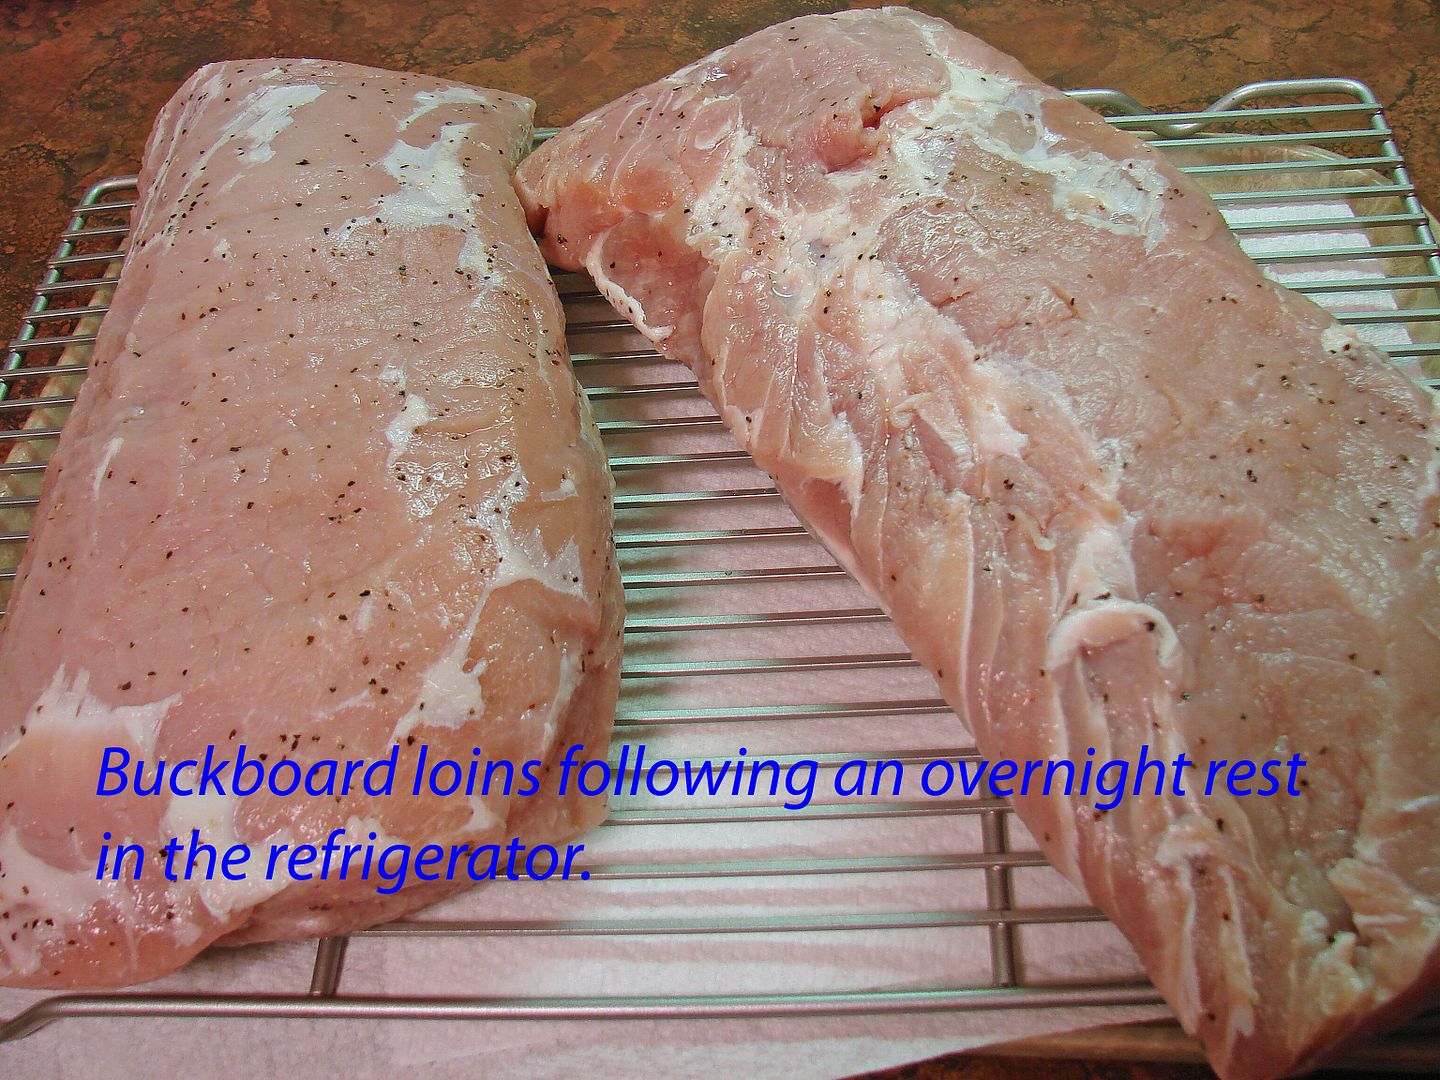
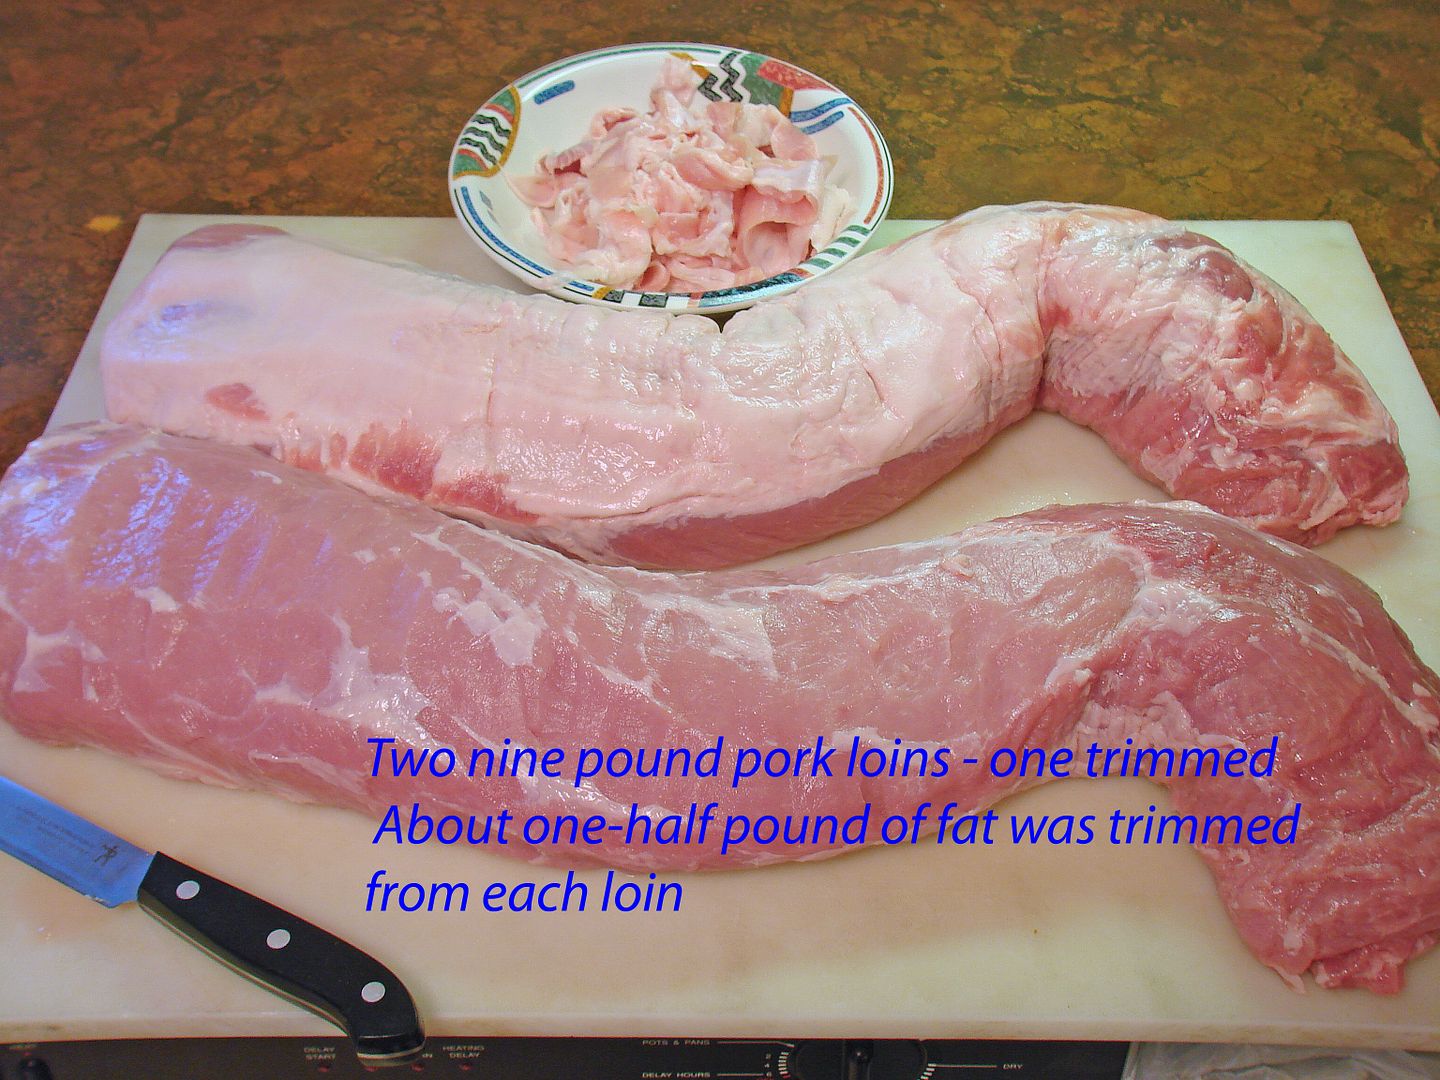
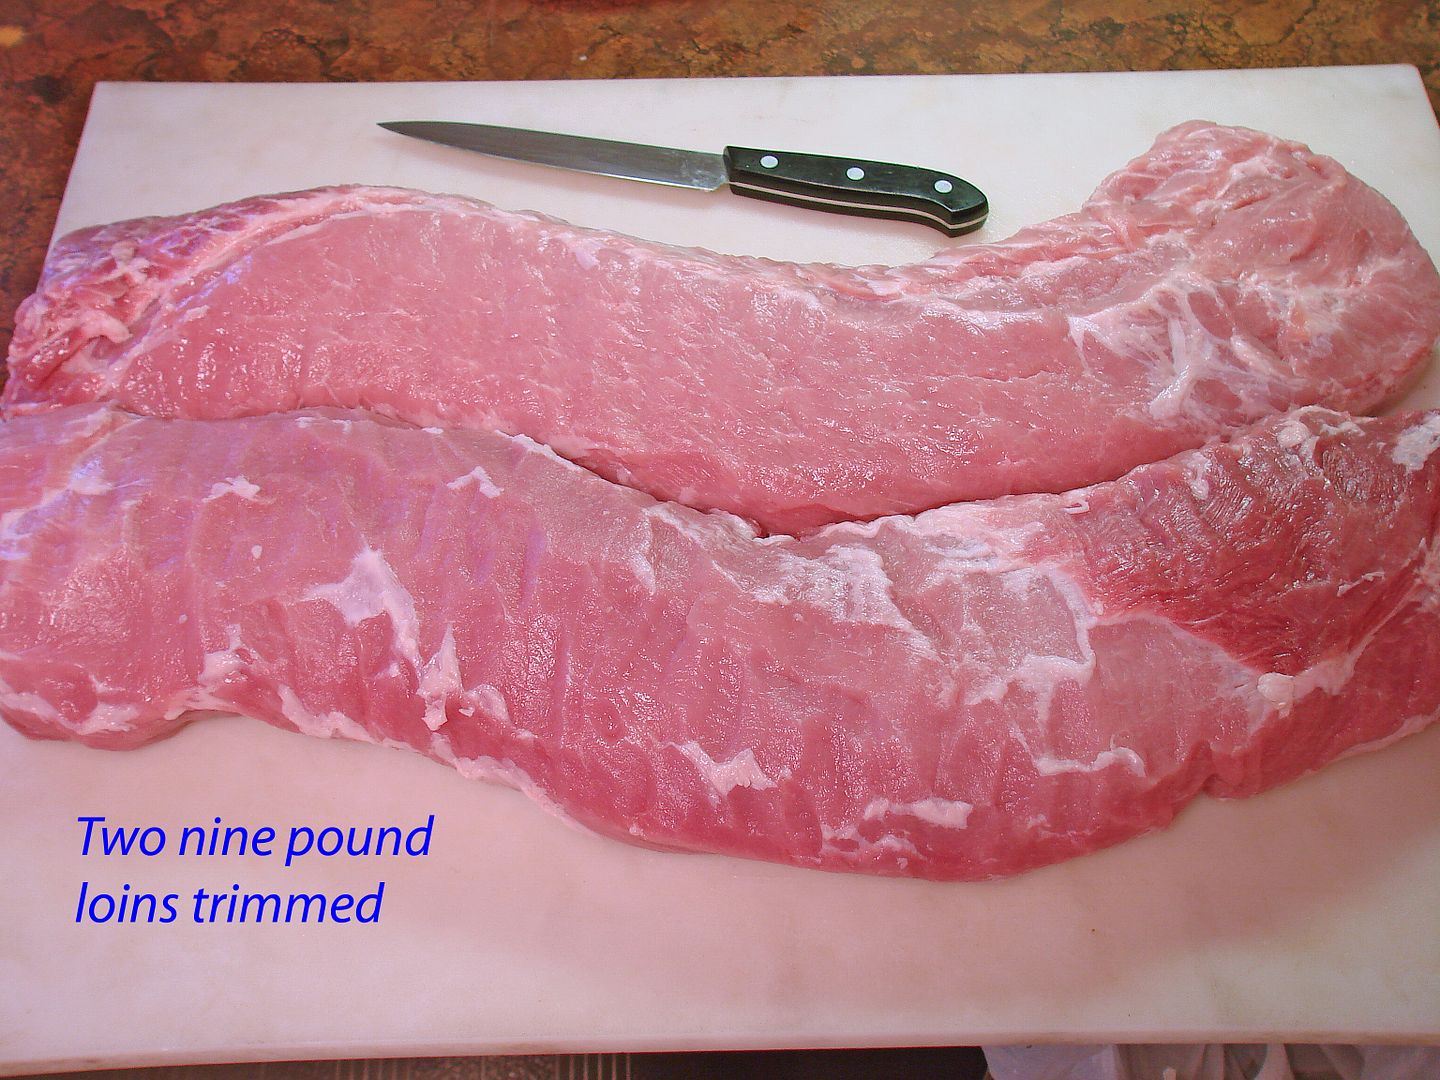
Here is a start-to-finish pictorial on Buckboard loin bacon.
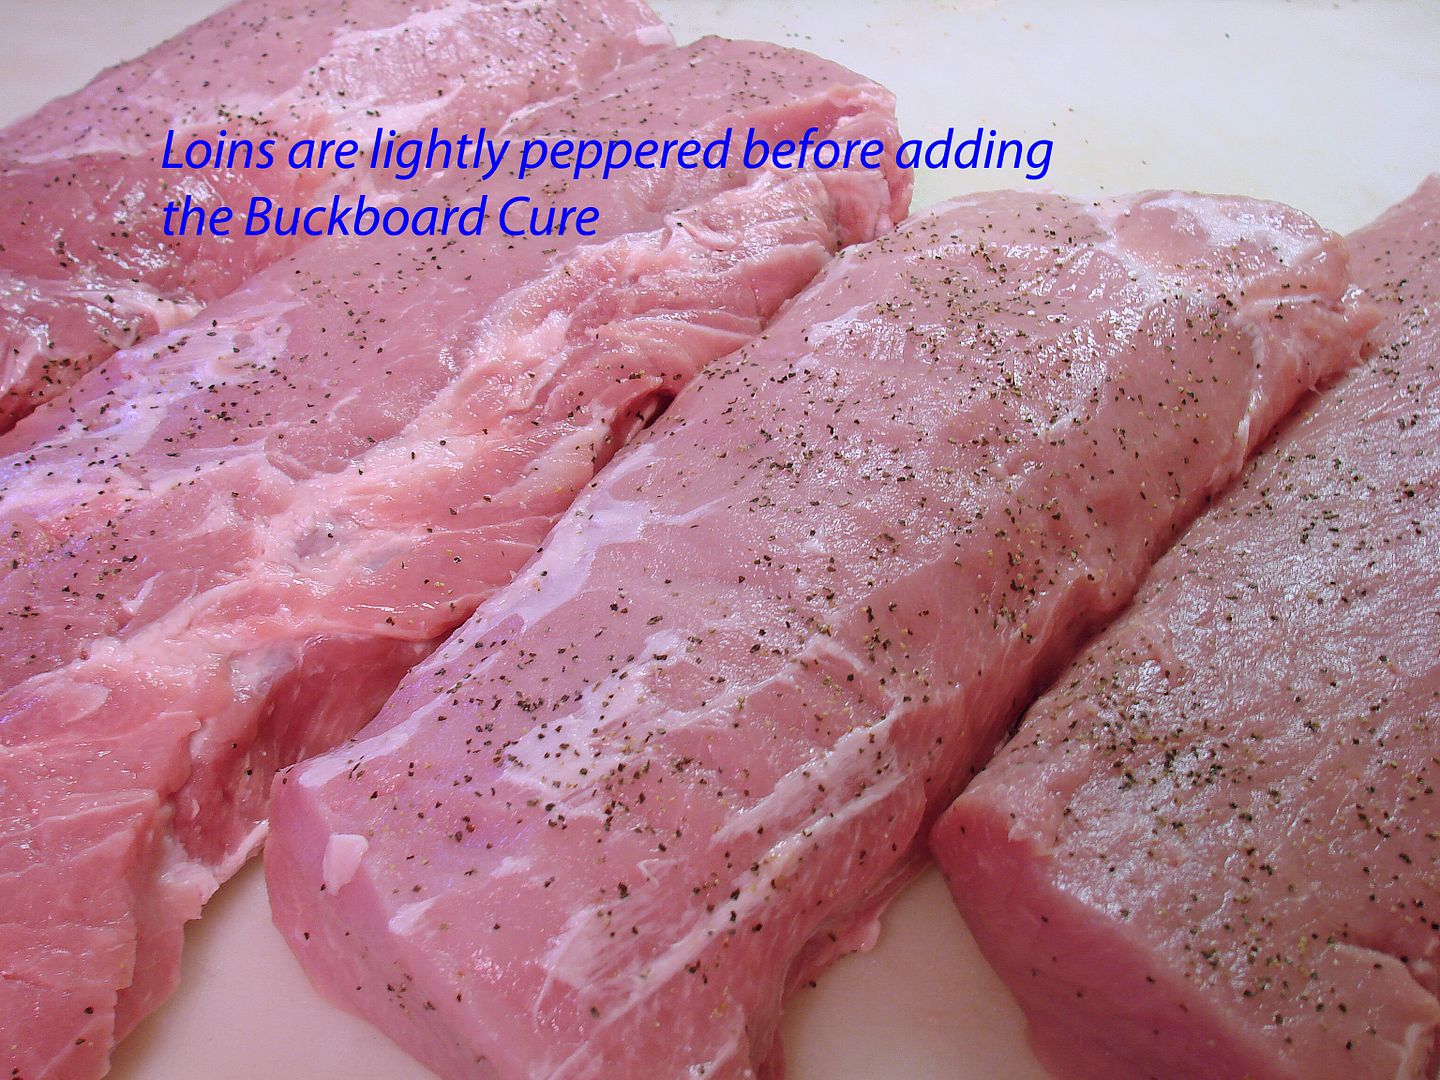
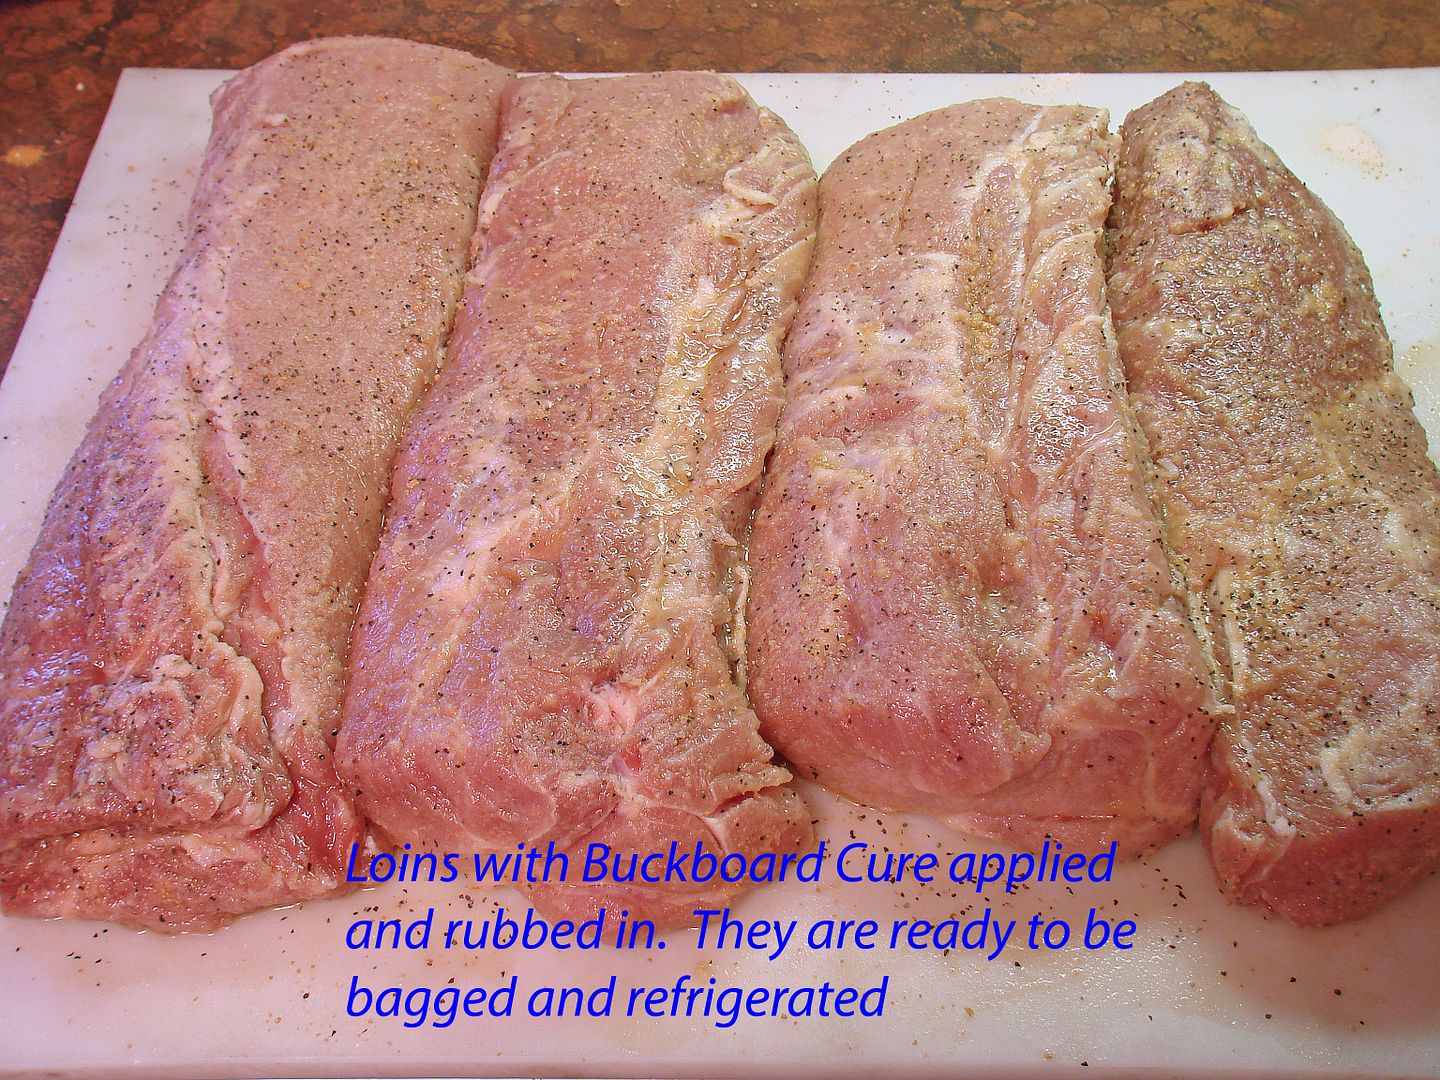
The steps are: Trim, Season, Apply Cure, Bag, Turn (every 24 hours),
Rinse, Soak Out, Rest, Smoke, Package
The liquid from the loins combines with the cure and forms a brine.
Don't pour it off, it is an important part of the process. The liquid
shown in the picture is after 3o hours of a 6 day cure time.
I turn my bags (overhauling) every 24 hours.
The soak out time I used on this piece was 8 hours.
The water was changed once.
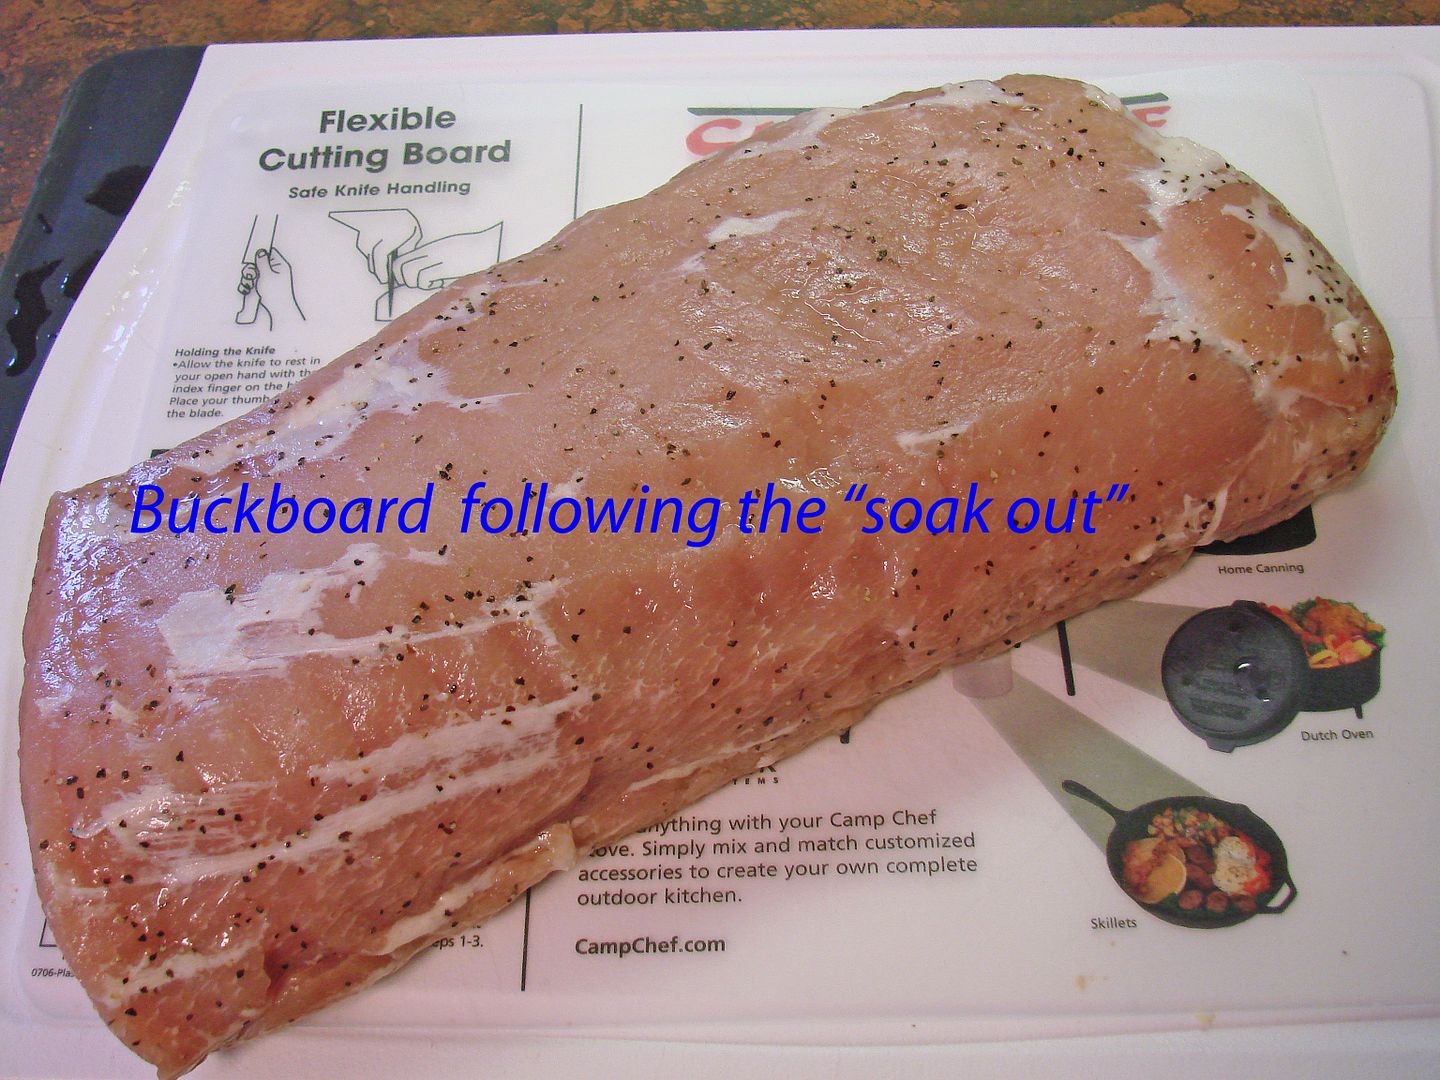
A refrigerated rest (equalizing) following the soak out is very important.
I rest mine overnight.