CHICKEN - Skinless Breasts & Thighs

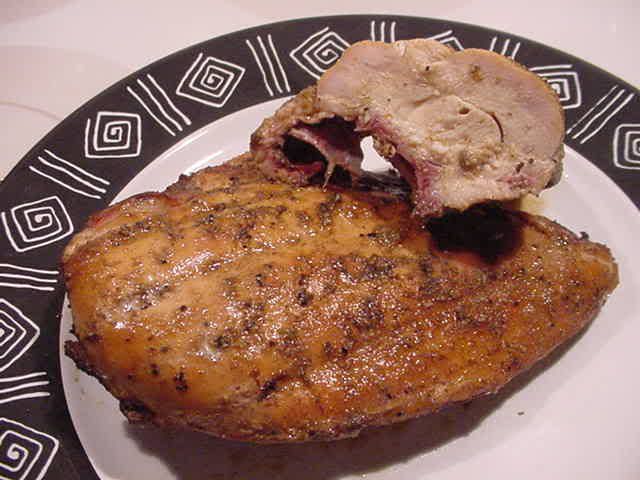
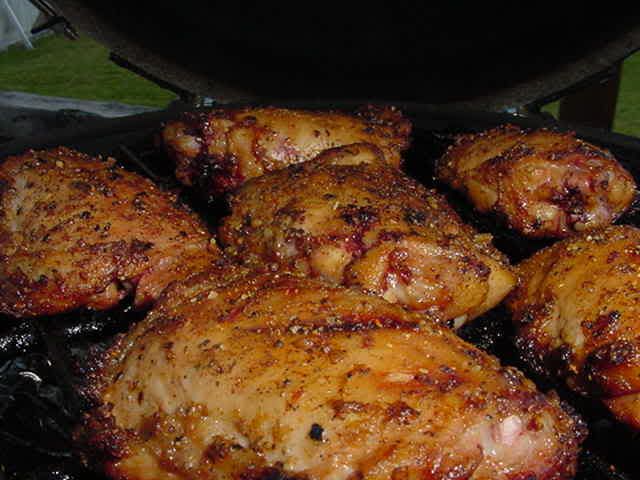
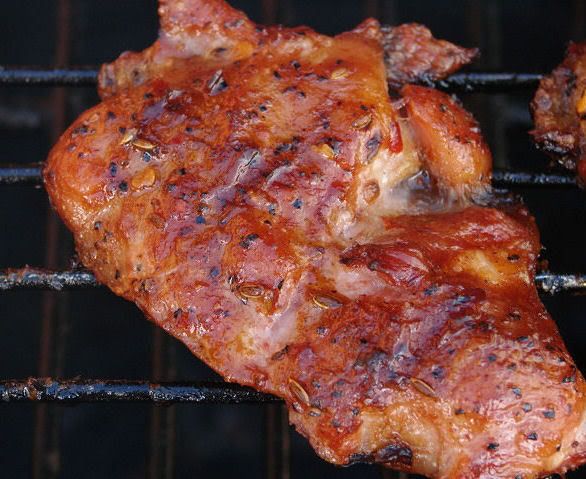
Chicken breasts and thighs can be barbecued without the skin and are quite delicious. Removing the skin prior to the cook allows the rub to add flavor directly to the meat. Since most of the fat is in the skin, basting the pieces will help keep them moist. Add oil or melted butter to the basting liquid.
FLAVOR BRINING OPTION - Flavor brining breasts is a sure fire way to help them retain moisture and add some flavor as well. A starter flavor brine is below. TIP: Keep the water/salt ratio and experiment with other seasonings. Start with some hot water to dissolve the salt and the rub, then add iced water to chill the brine back down. Use a non-reactive container or a zipper bag and brine for at least one hour or maybe two. If you want to brine longer, just make a weaker mixture by using less salt. More brining information and recipes are on my brine page.
FLAVOR BRINE FOR CHICKEN
1 Quart Water
3 tablespoons of coarse sea salt or kosher salt
1 tablespoon sugar
1/4 cup cider vinegar or apple juice
splash of soy sauce
splash of Tabasco
sprinkle of rub (Jim Goode's BBQ Beef Rub is a good choice here because it is a low salt rub)
The vinegar, soy and tabasco are optional ingredients which provide a nice flavor for chicken. Feel free to make substitutions.
Following brining, rinse the breasts, then rest at least 30 minutes in the fridge. Then season and cook as described below.
Basting Sauce # 1:
Only the ingredients for the sauce are listed so you will have to “wing it” depending on how large of a batch you are making. The sauce is essentially a jazzed up chicken stock. Flavor it suit your taste.
water
wing tips
diced onion
chopped garlic
chopped celery
chopped carrot
bay leaf
thyme
salt
pepper
rub
cider vinegar
Worcestershire
corn oil or butter
In a pot add everything above EXCEPT the vinegar, Worcestershire and oil or butter, cover with water and simmer about a half hour. Add a little vinegar and Wooster to taste. Chicken can take a basting sauce heavier in fats. Adding some corn oil or butter is something worth exploring. As with all cooking sauces, keep the basting sauce warm during the wing cook.
Basting Sauce # 2:
1 part apple juice
2 parts cider vinegar
Sprinkle of sea salt
A few drops of Wooster or Soy Sauce
Warm up the liquid and baste wings as needed during the cook
COOKING METHOD:Remove the skin and sprinkle on a medium coating of your rub of choice. Let sit in the refrigerator for at least several hours. Prepare the cooker for barbecue temperatures around 250° to 275° (at the grate). OPTION: You can raise the grate temperature upwards of 350°, just turn more often. Adding some fruit wood (apple, cherry, etc.) is a good choice for more flavor. Mix and heat the basting liquid. Set up the cooker for either an indirect cook or a direct cook utilizing a raised grate. An hour or so before your cook, apply at least one coat of basting liquid to the chicken, letting it dry somewhat and allowing the surface to become tacky. (the oils will prevent complete drying. If you have brined the chicken, you can just paint on a coating of basting liquid 10 minutes before the chicken goes on the pit.
Start the pieces bone side up, turn after 20 minutes or so and baste. Continue basting every 20 or 30 minutes or so, adding a little more rub as you wash some away. Turn or reposition the pieces only as needed to allow for even cooking. (TIP: So that the basting liquid does not get contaminated from the raw chicken, use a spray bottle or squeeze bottle). Remove breasts when the internal temperature around 155°, and the juices run clear. The USDA safe internal temperature for poultry is 165°, I bend that rule a little. Thighs are removed between 170° and 180°, and the juices run clear. The chicken can be served after a few minutes rest.

I prefer to serve sauce at the table. But if you want to add another layer of flavor to your chicken, paint a thin layer of sauce on the up side during the last 5 or 10 minutes of the cook and let it glaze over. Remove and rest a few minutes and serve.

Skinless chicken is at it's best when rested and served. Here are a couple of options using a foil pan that can be used if your chicken finishes early or if you need to hold your chicken a few minutes.
OPTION # 1 - Basted Chicken: Pieces can be removed from the cooker and placed in a foil pan, mopped with some of the basting liquid, sprinkled with a little more rub, then covered with foil.
OPTION # 2 - Sauced Chicken: Add a little thinned sauce in the bottom of a foil pan, add the chicken and cover.

No comments:
Post a Comment