
Weber Smokey Joe "Tall Boy" Smoker Conversion
As anyone in grilling circles knows, Weber grills set the benchmark. I've had several over the years, and still have the Smokey Joe model which I use when camping or on fishing trips. It's a very portable grill and has always served me well.
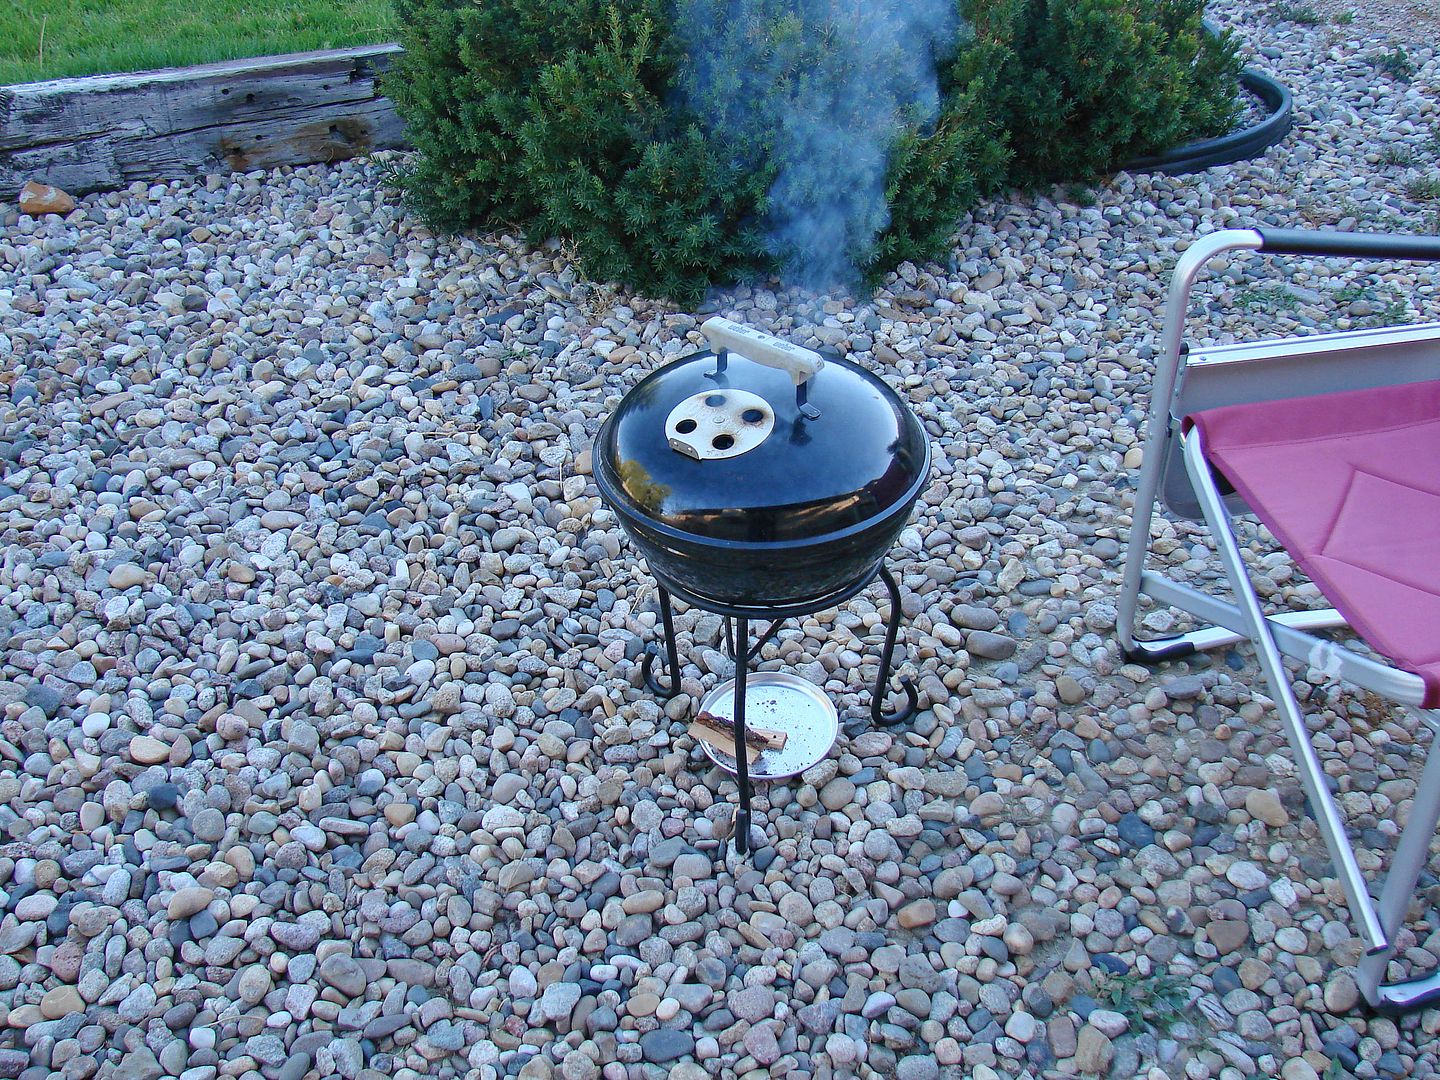
For smoking, Weber makes a Smokey Mountain also known as a WSM. These are a bullet style smoker loaded with features and Weber quality. A couple of years ago on barbecue forums and websites I started seeing modifications that folks had done to a Smokey Joe to transform that grill into a smoker, similar to a WSM. I finally got around to doing that modification and here are the results.
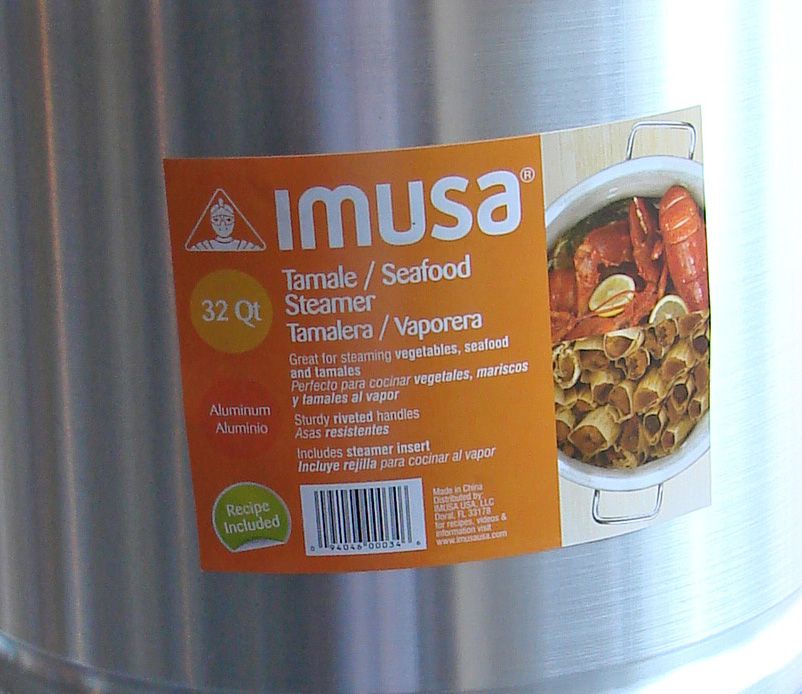
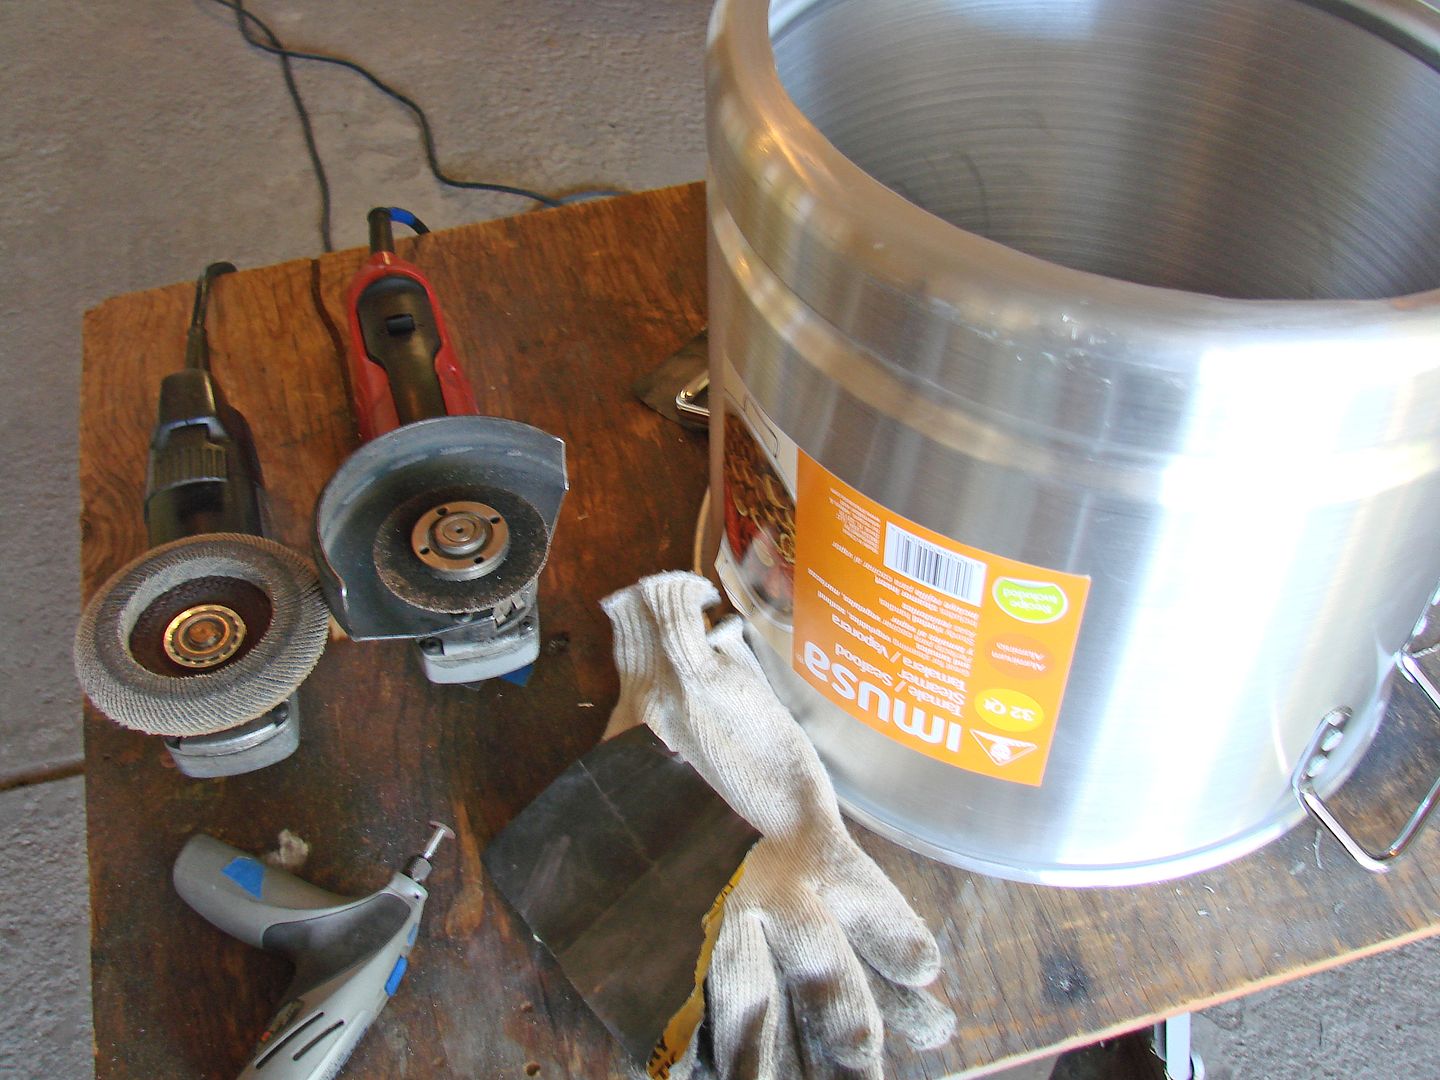
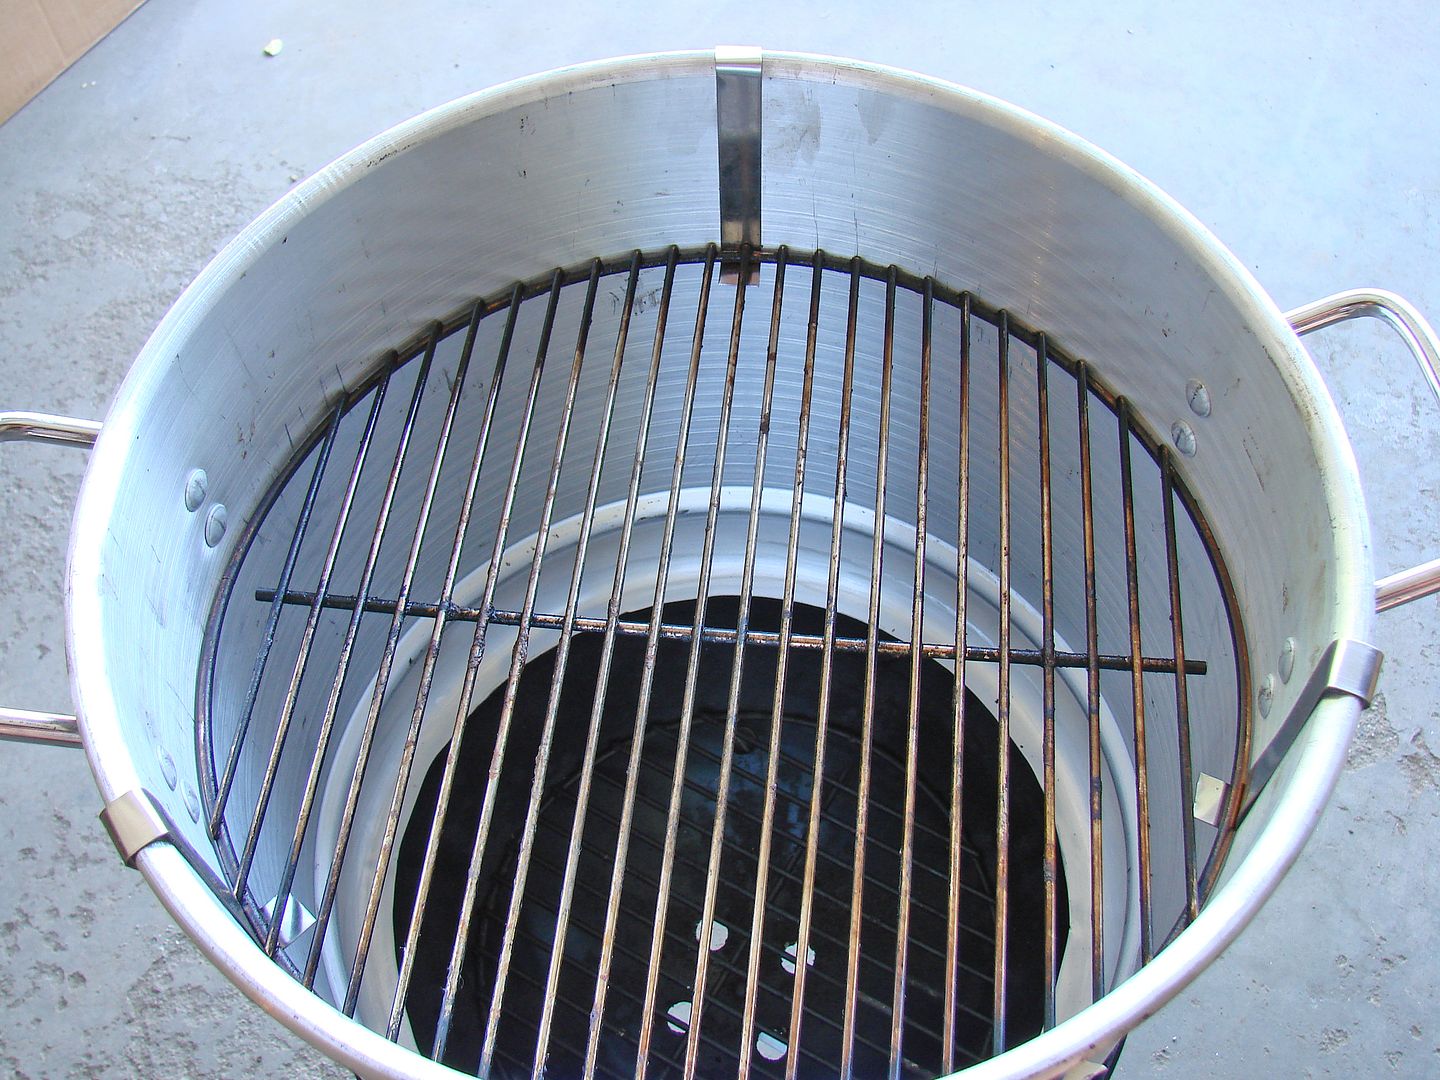
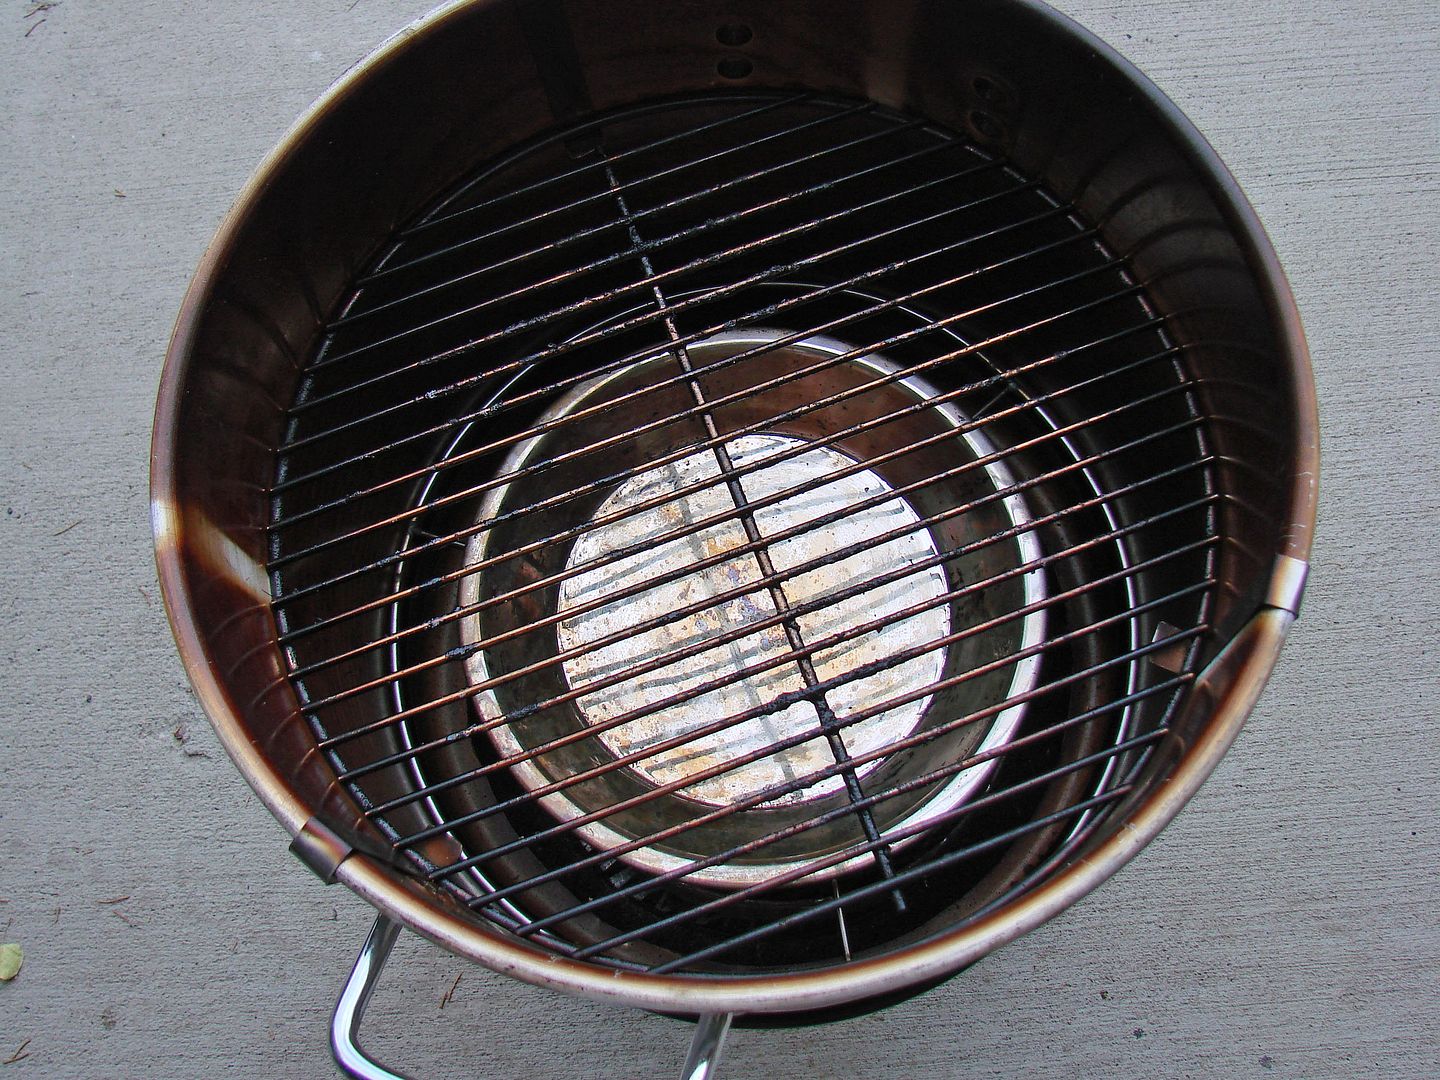
The key component to this build is a IMUSA 32Qt Tamale / Seafood Steamer, which is available at WalMart in stores or online for around $25. This particular pot nests perfectly into the base of the Smokey Joe, and the lid is a perfect fit. The grate fits snugly inside the steamer.
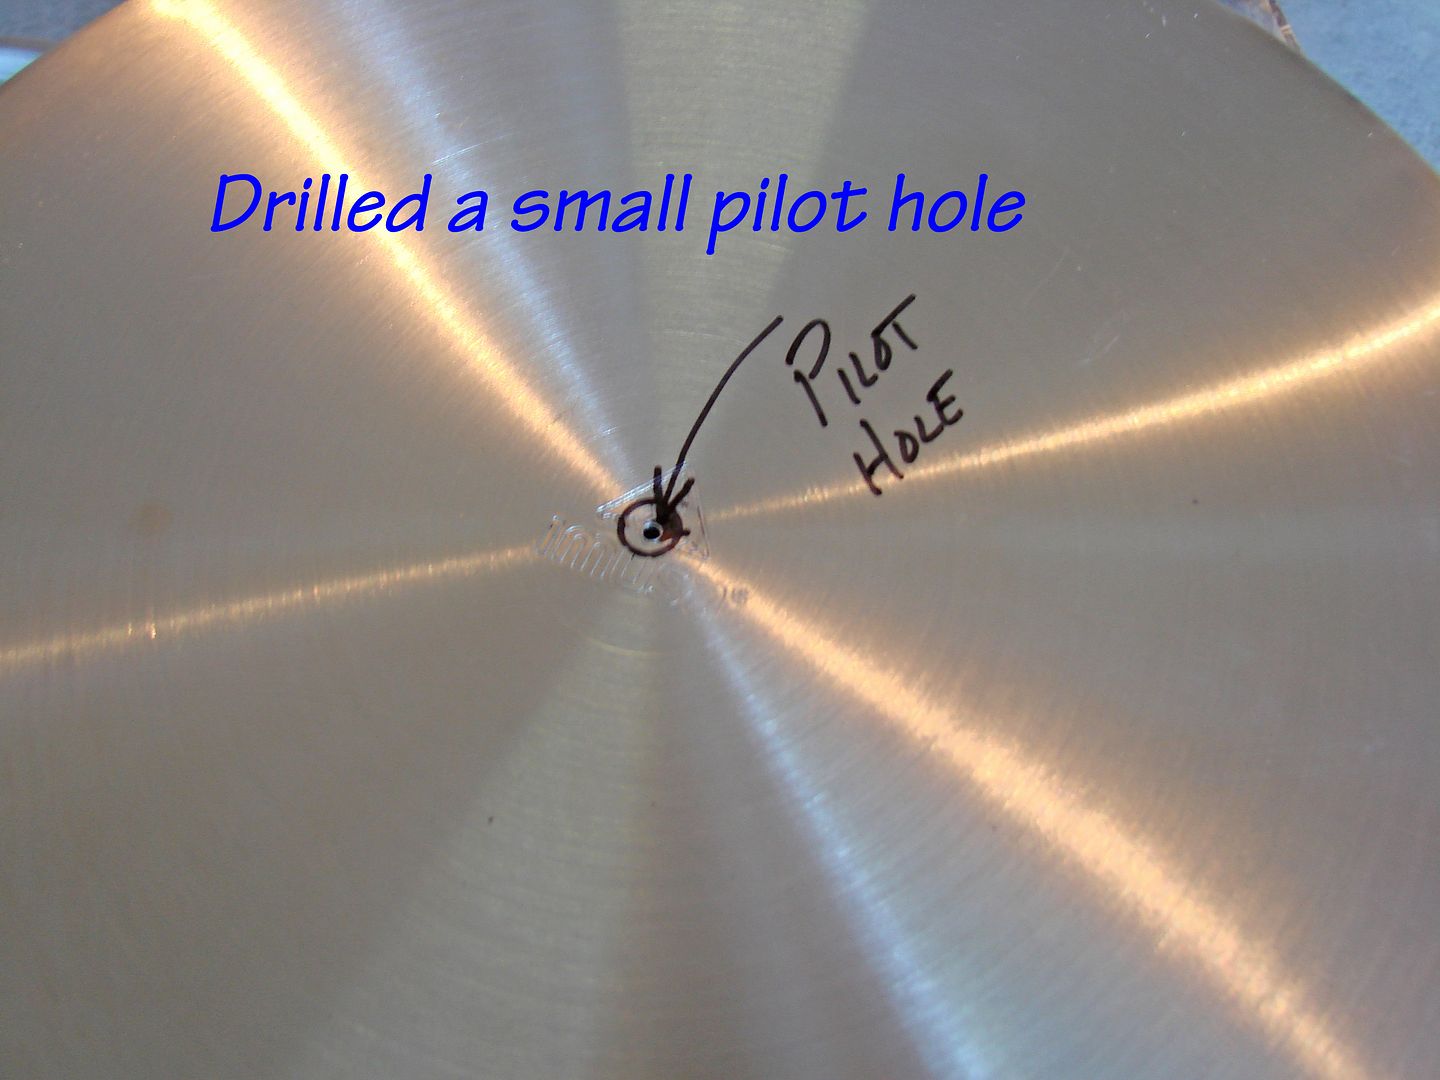
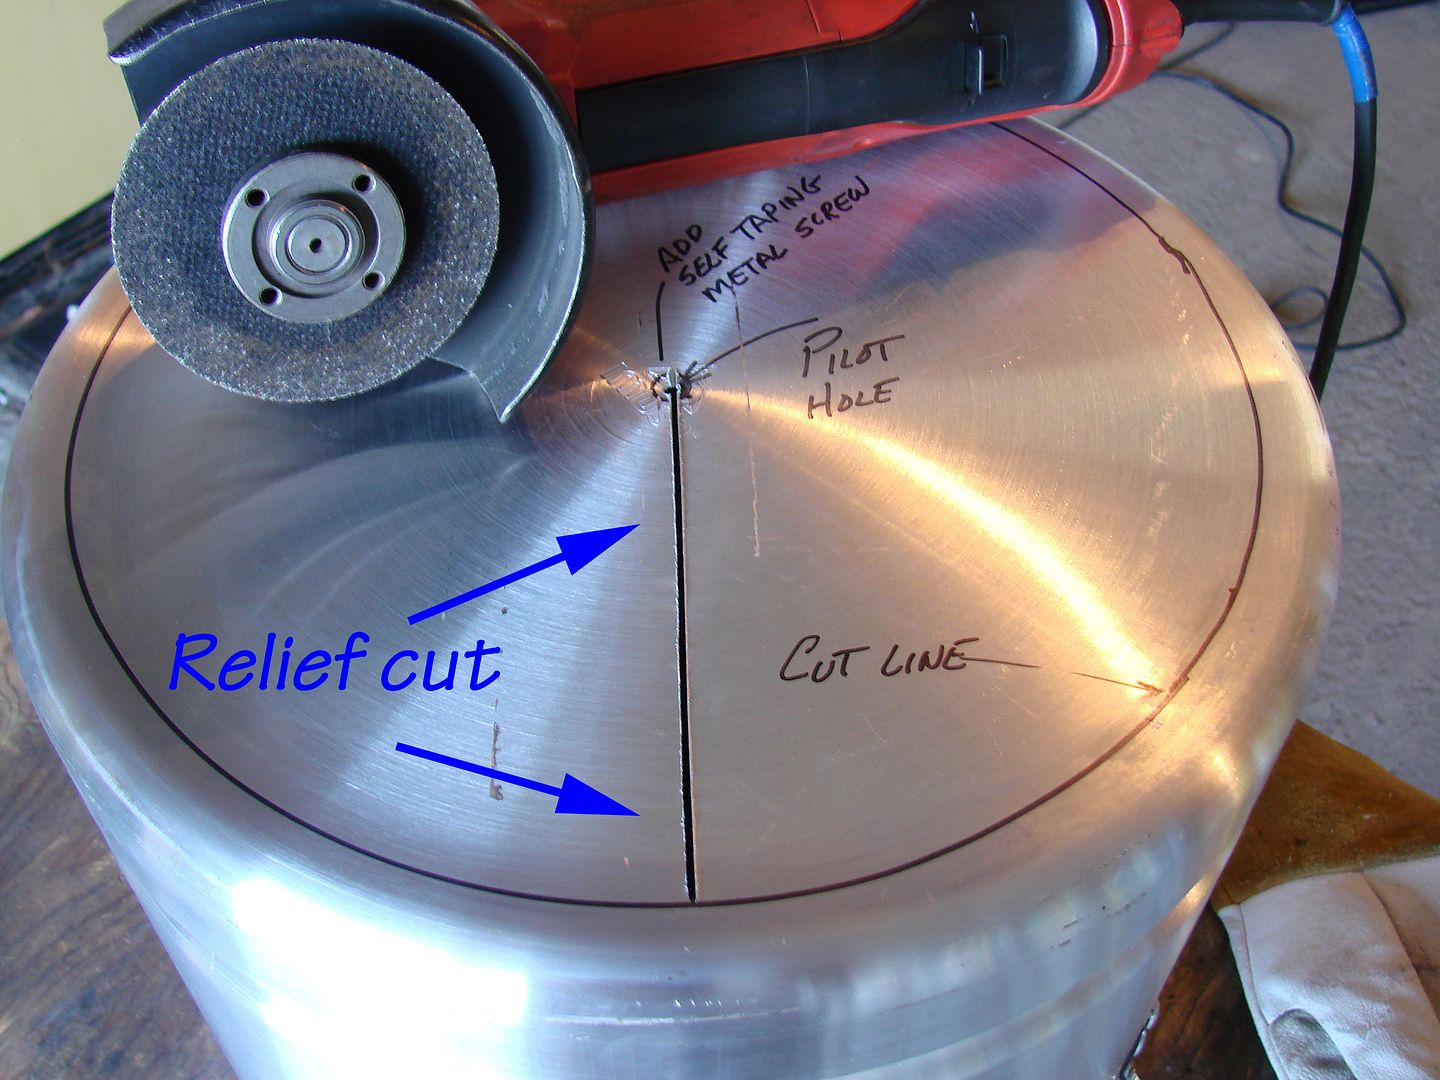
The factory lid and perforated steamer rack were not needed in my build, but the rack did come in handy for finding the center of the bottom which must be cut out.
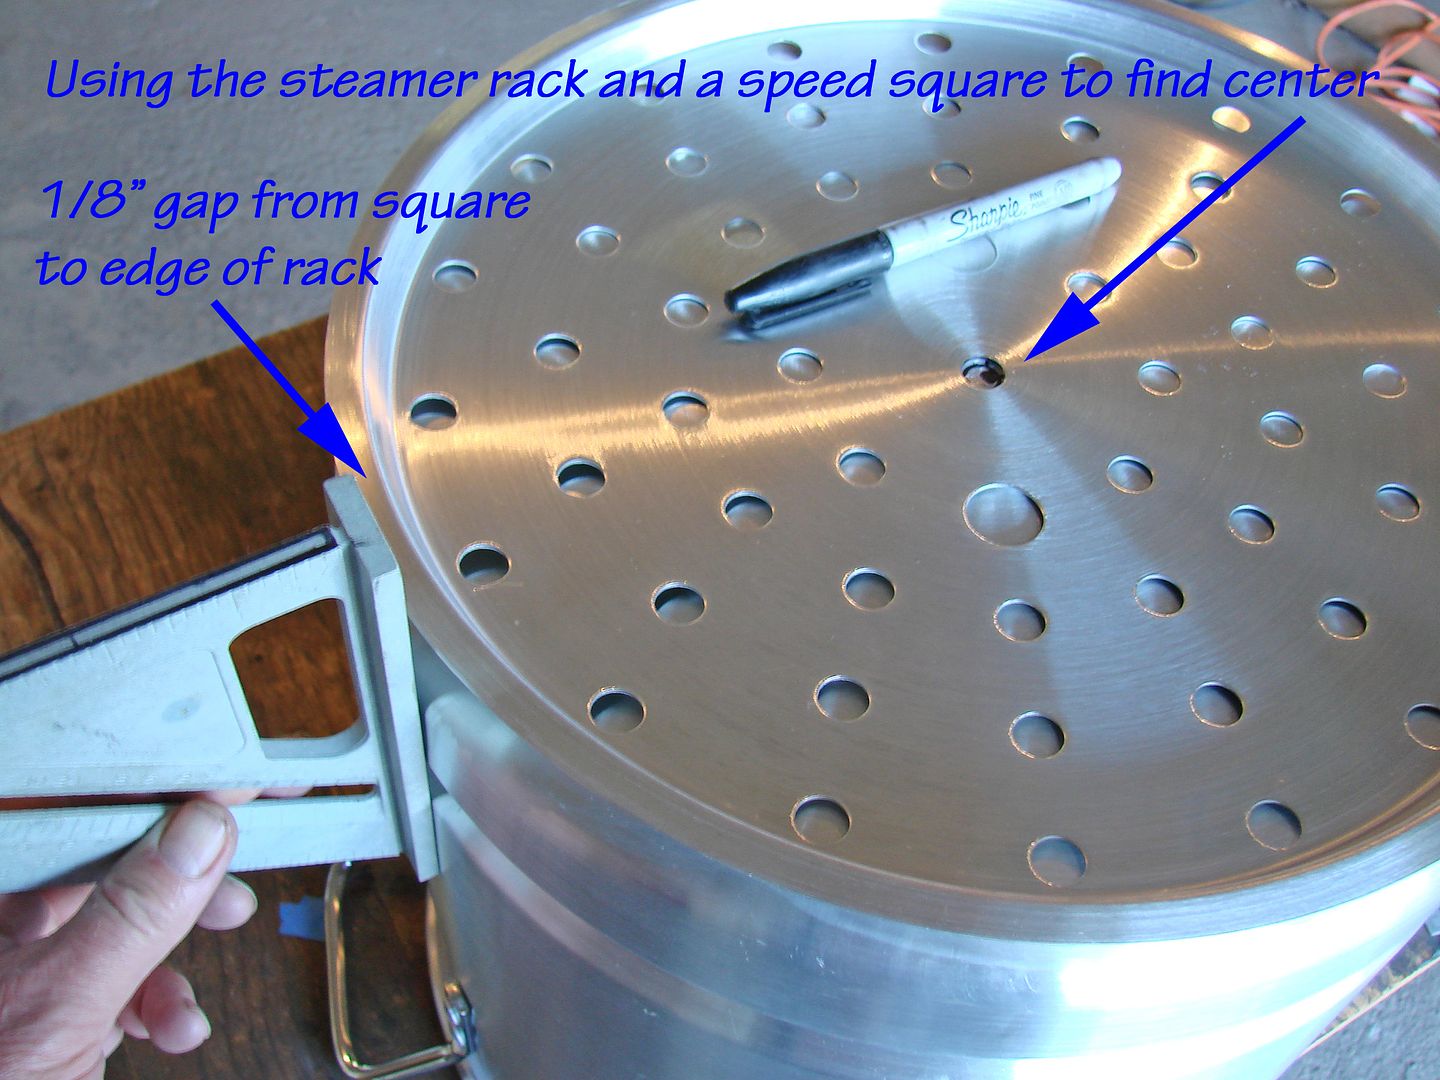
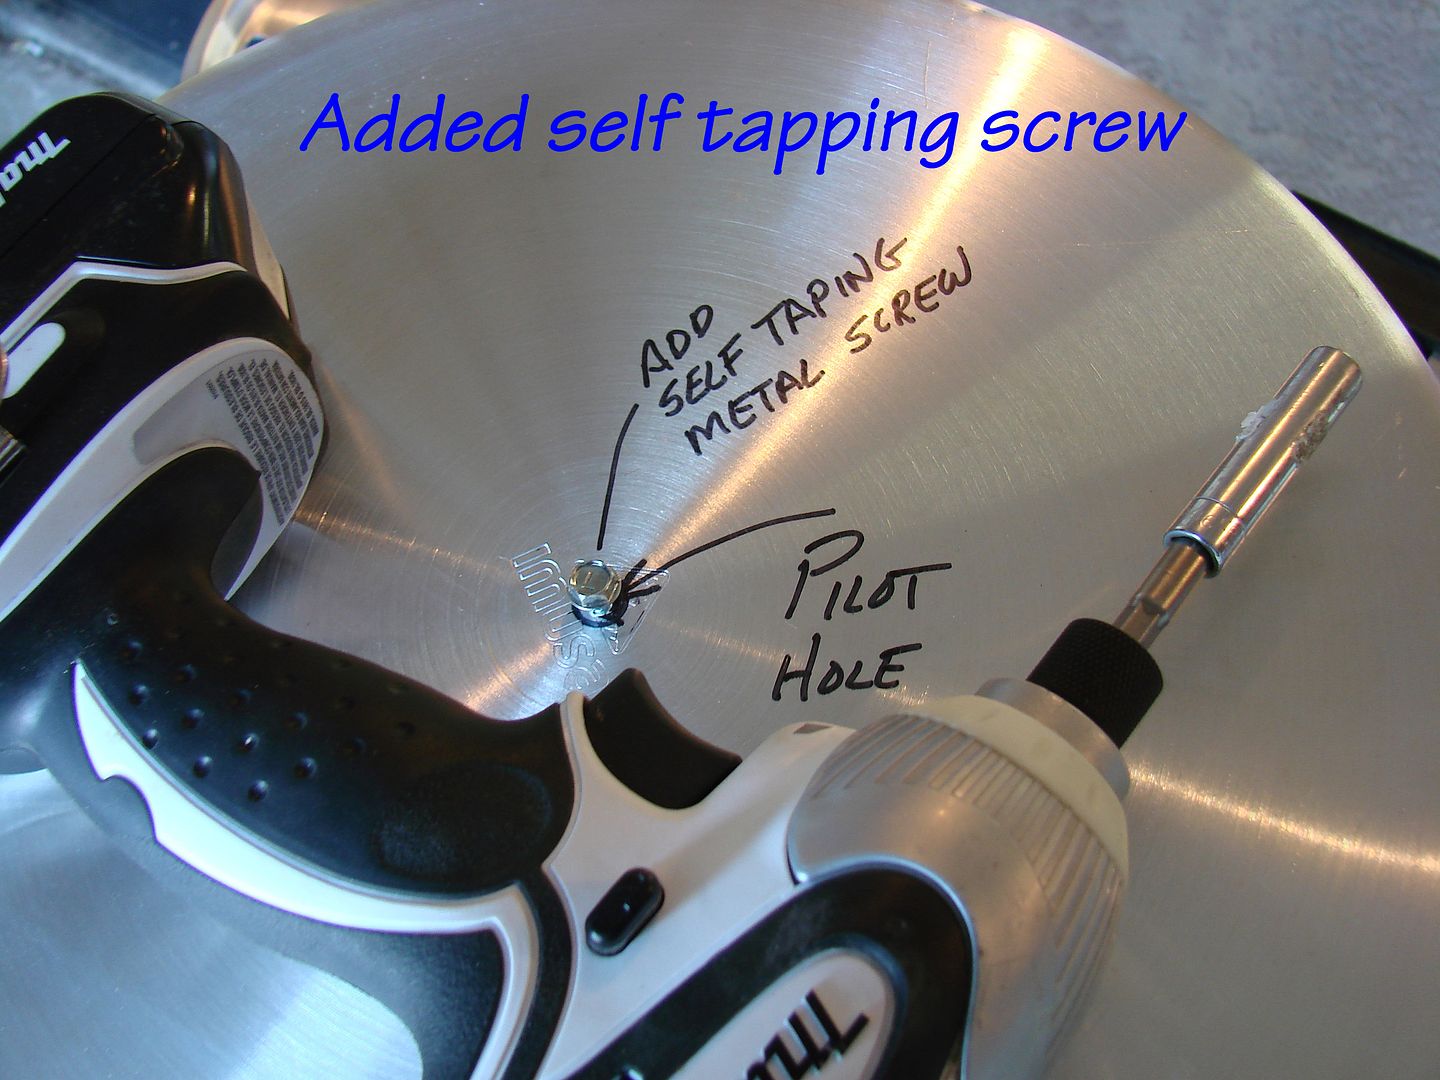
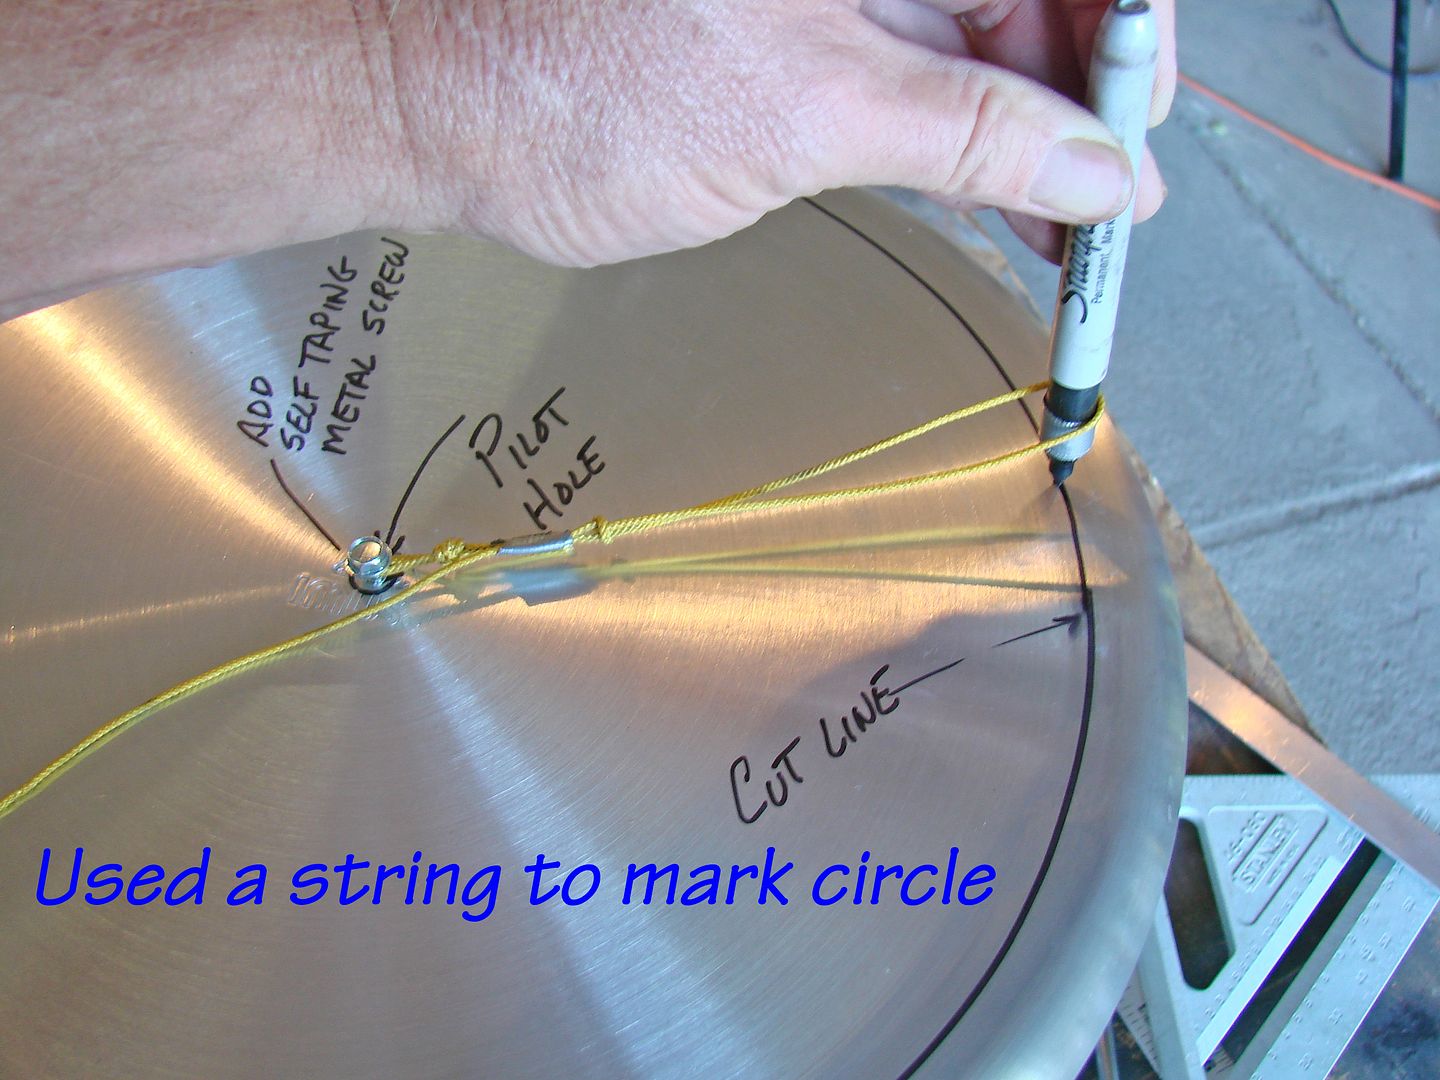
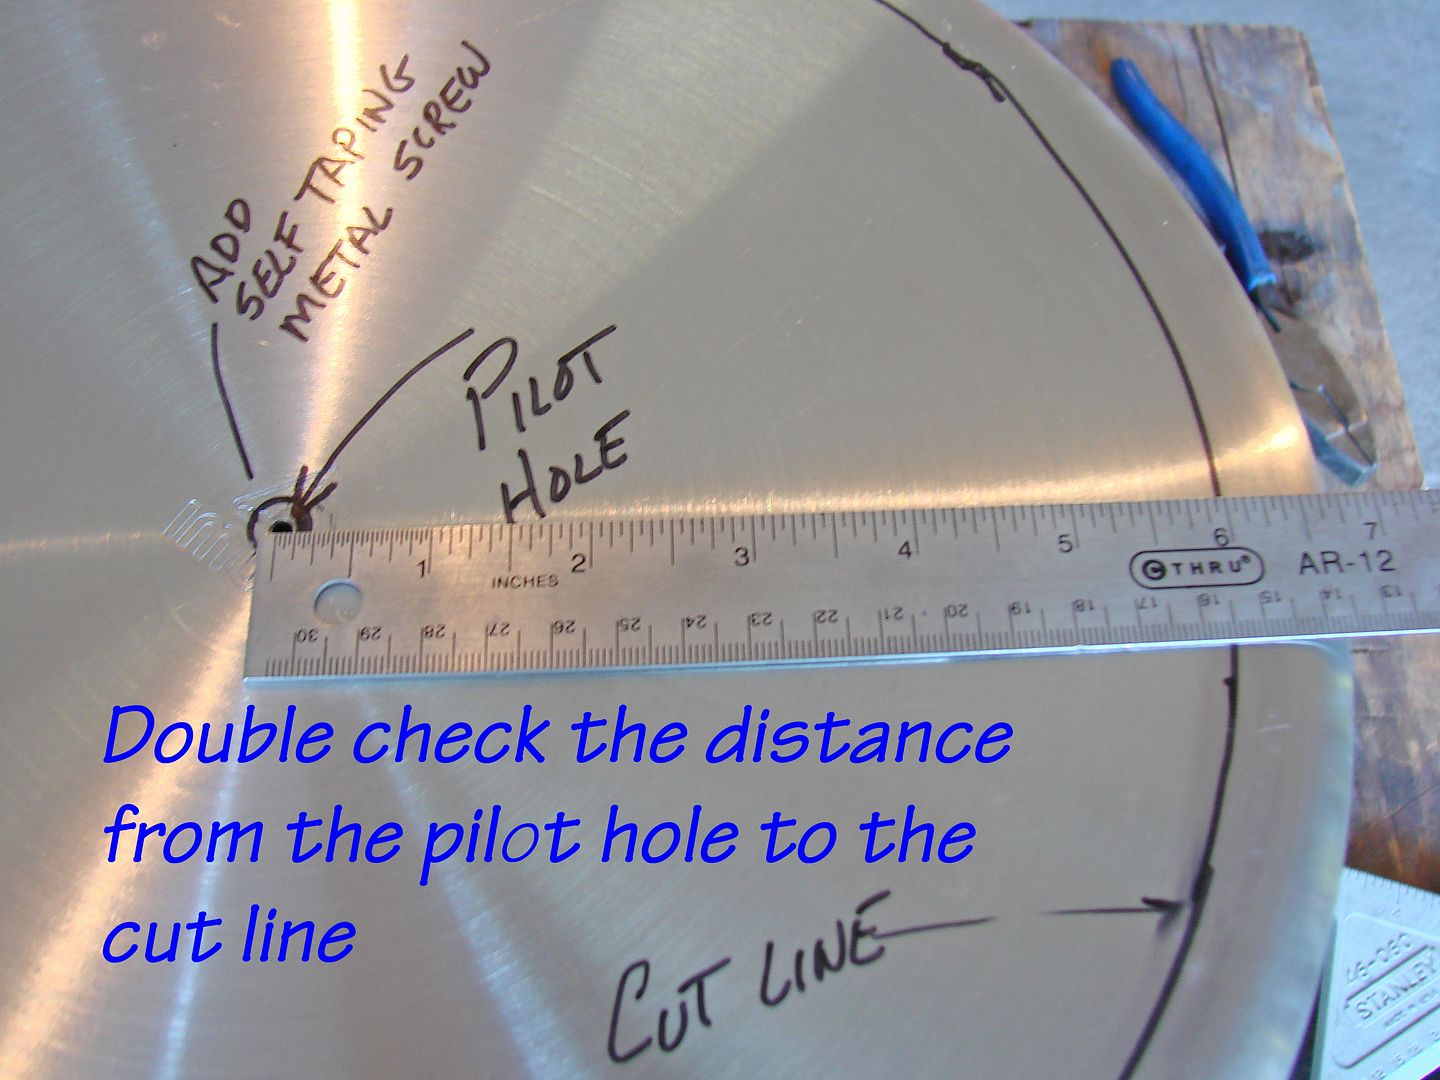
Once the center point is marked, drill a pilot hole and insert a self tapping sheet metal screw about halfway in the hole. Measure 7/8" from the edge of the steamer and make a reference mark. Next, using the screw as a pivot point, use a string and a marker to mark a circle.
Double check your measurement - "Measure twice, cut once" is the best advice here.
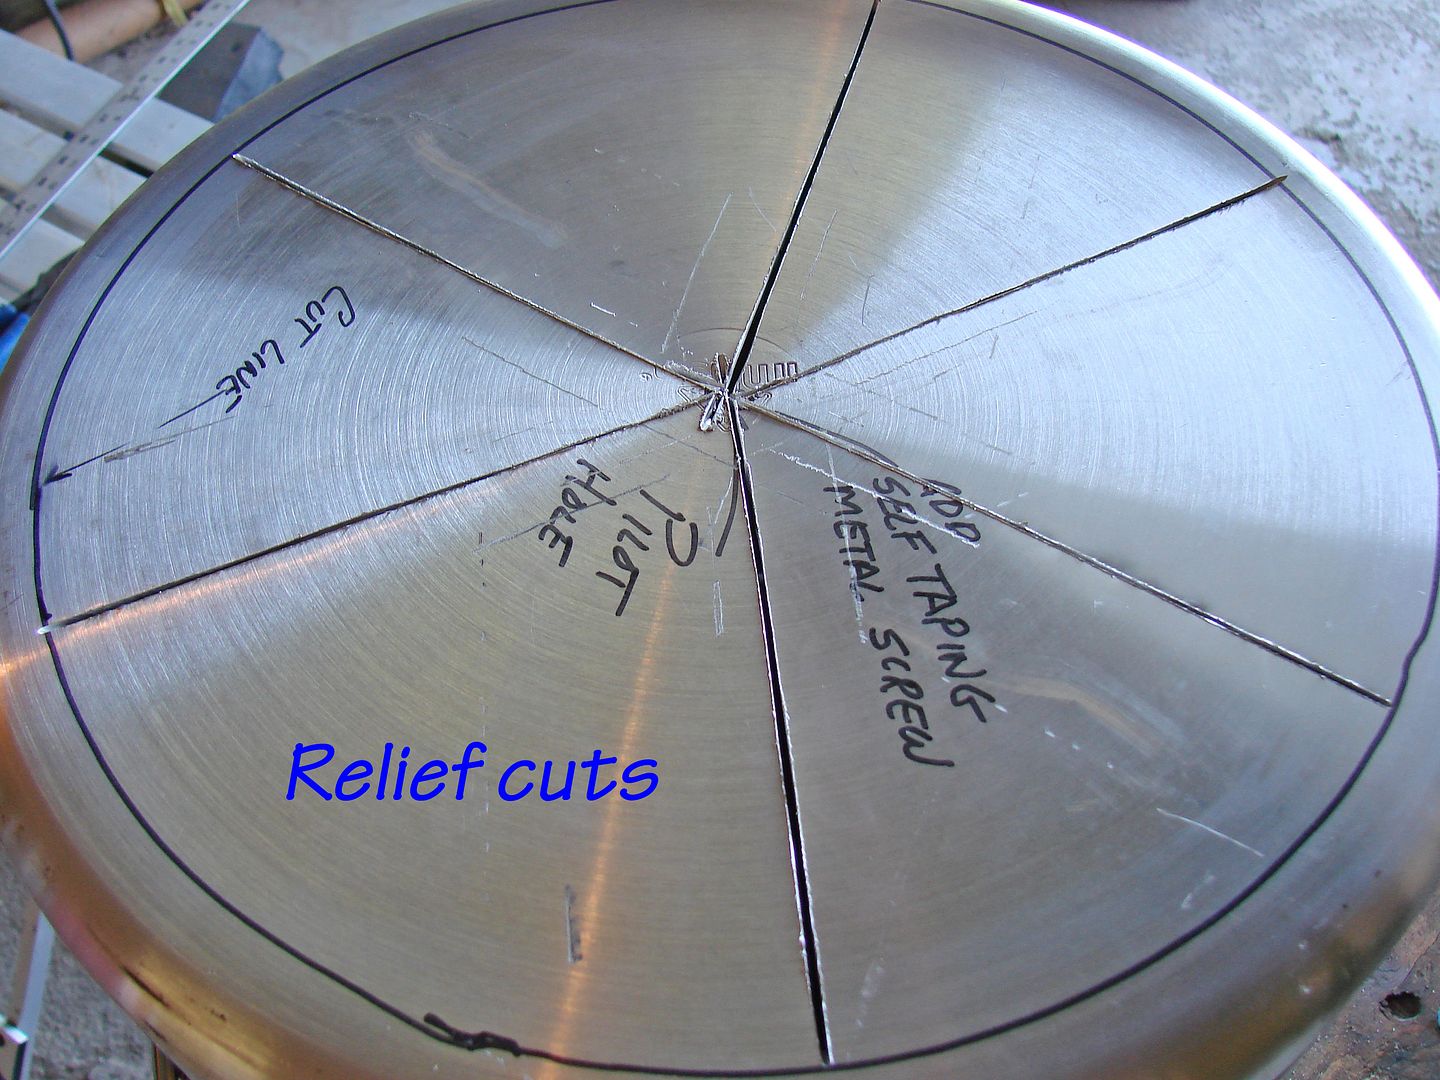
I opted to use an angle grinder with a cut-off wheel for the major cuts. A jigsaw with a metal cutting blade may also work. I made a series of relief cuts, then followed my circle.
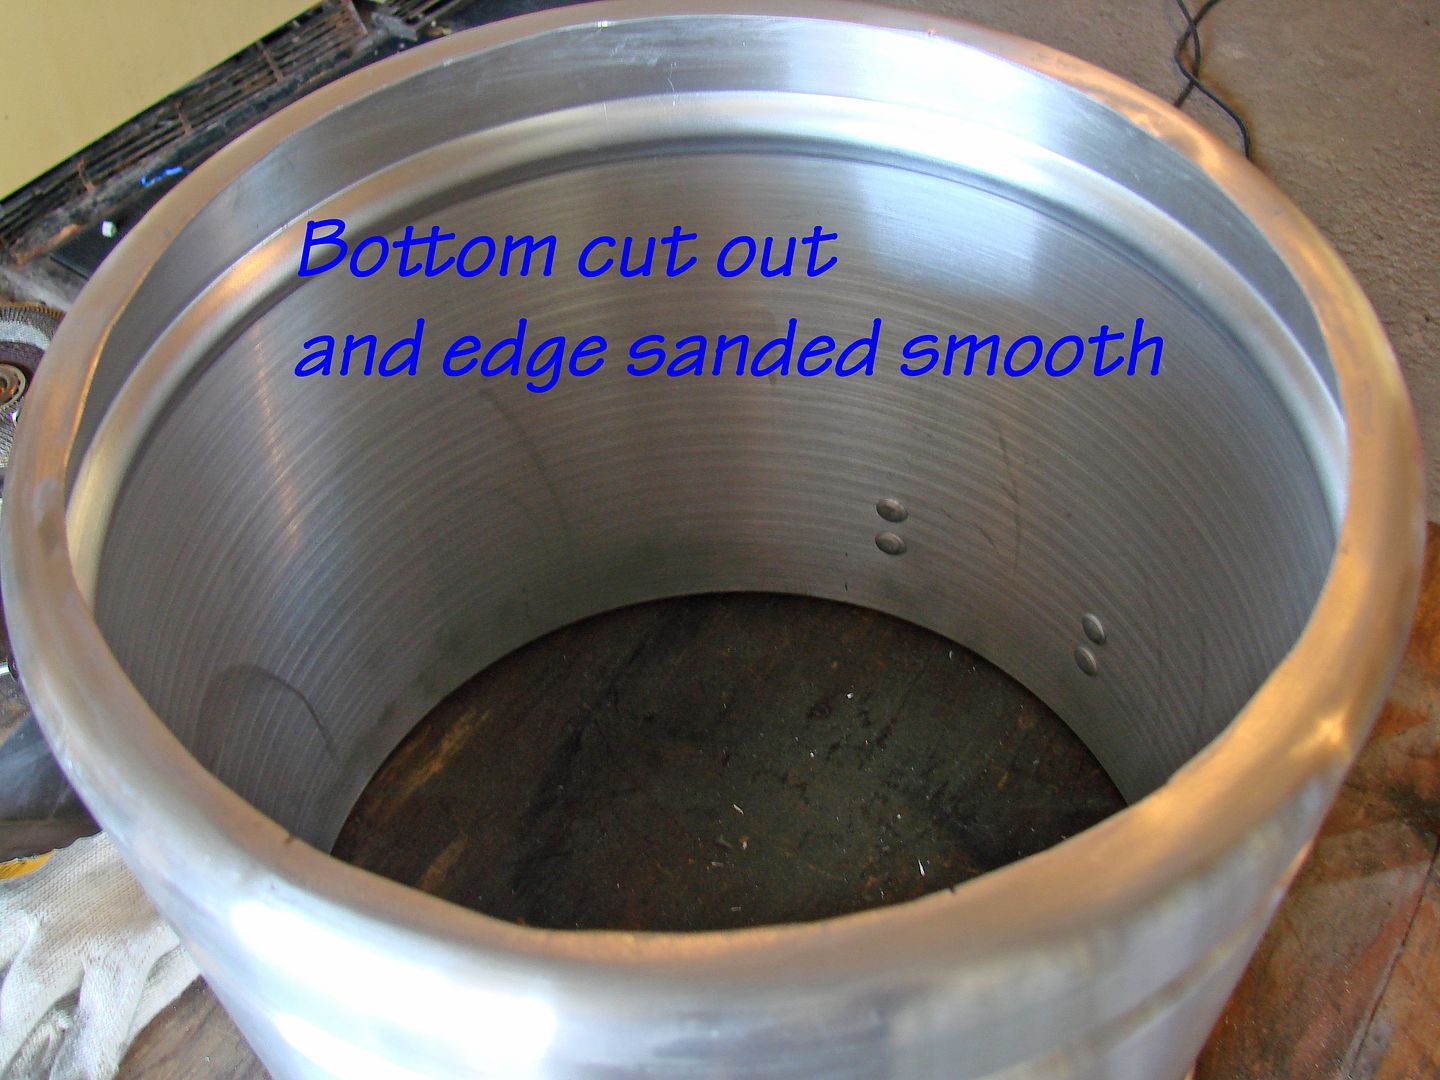
After removing the bottom, use a sanding disk or Dremel tool with a grinding wheel to remove the burrs, then hand sand with 300 grit followed by 800 grit sandpaper.
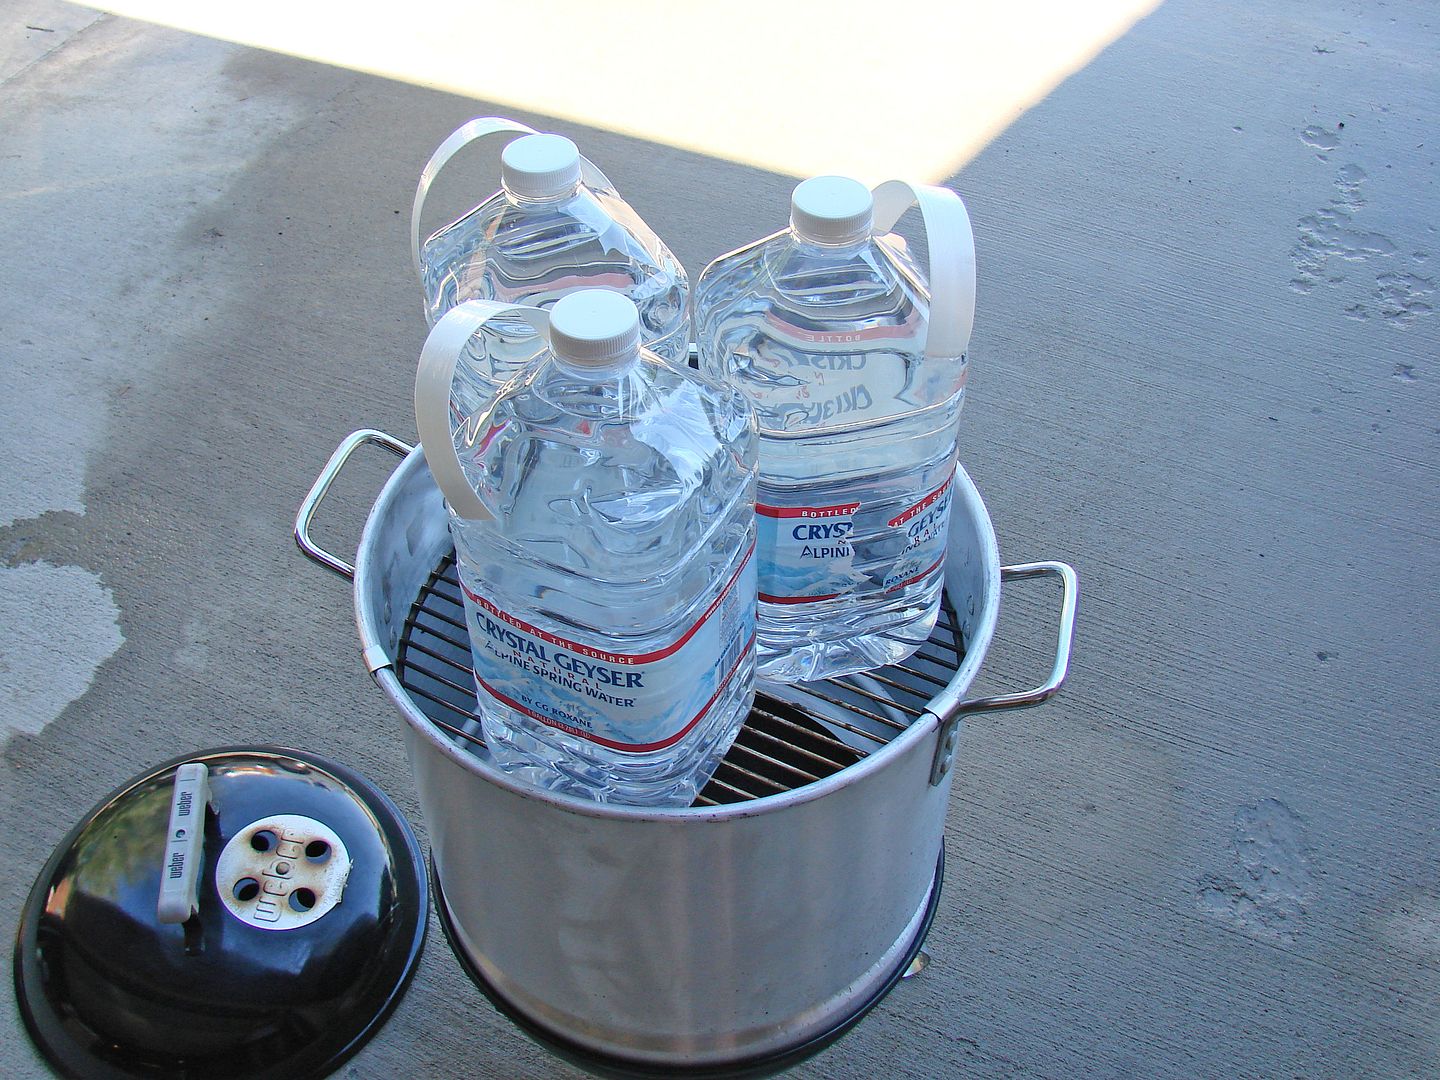
Until I locate the "sweet spot" for my grate height, I opted to make some clips to hold the grate. This way, I can try several heights before adding some permanent bolts to support the grate. As you can see, the clips passed the weight test using 3 gallons of water.

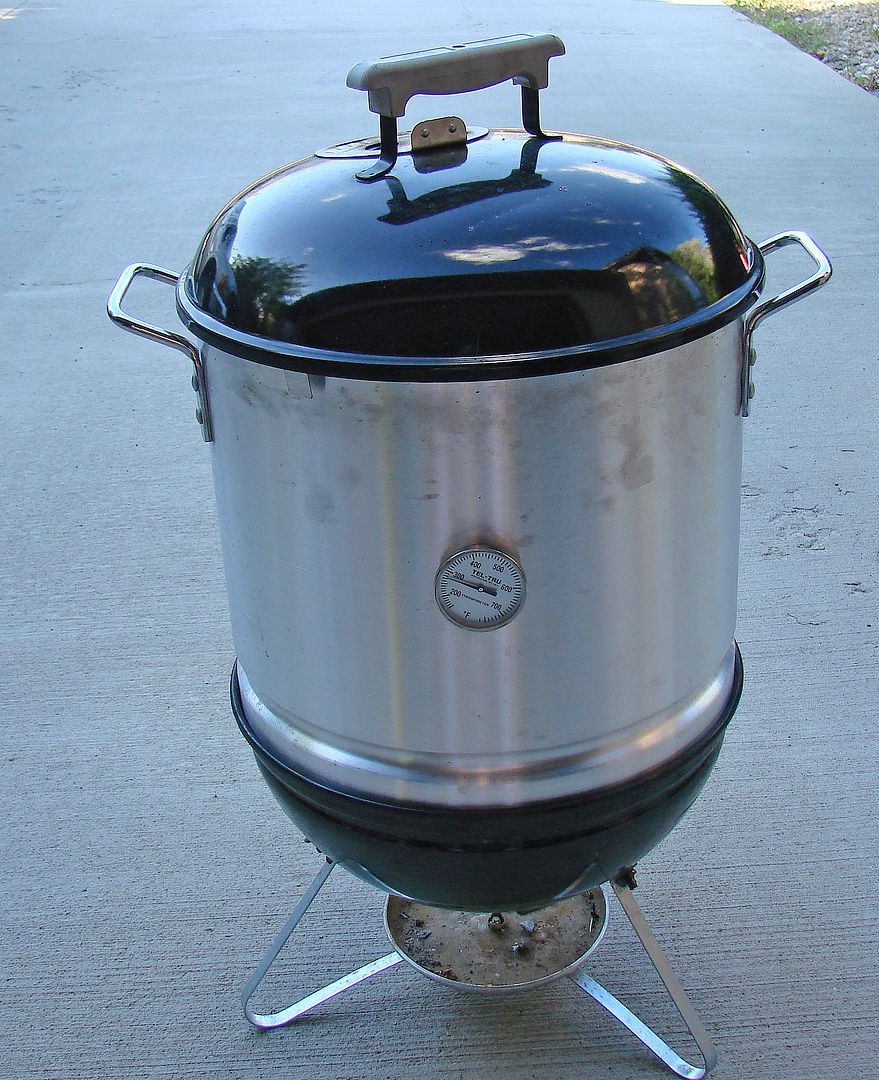
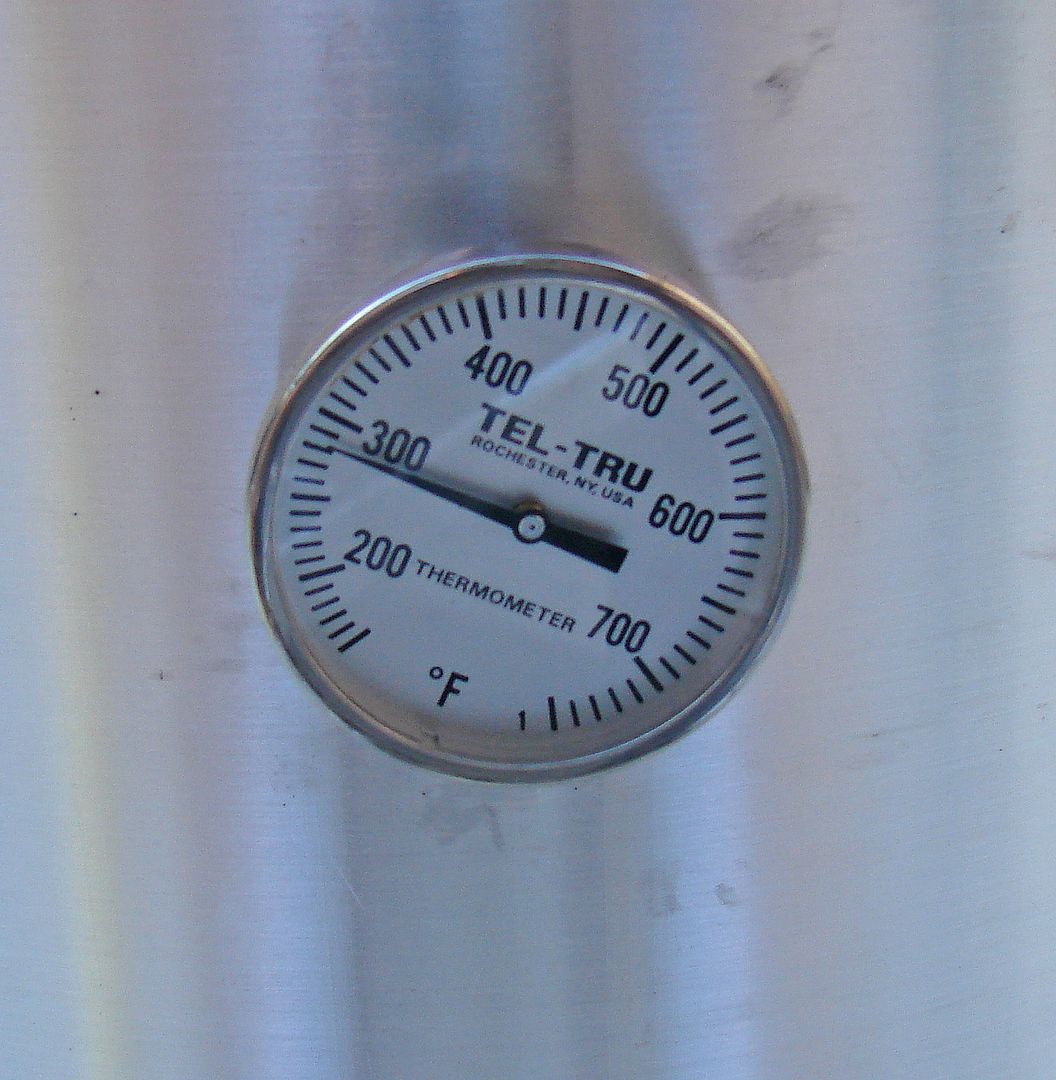
For my thermometer I chose a Tel Tru 150° to 750°, 5" stem model with a calibration nut. It cost $20 and is the same model I use on my Big Green Eggs.
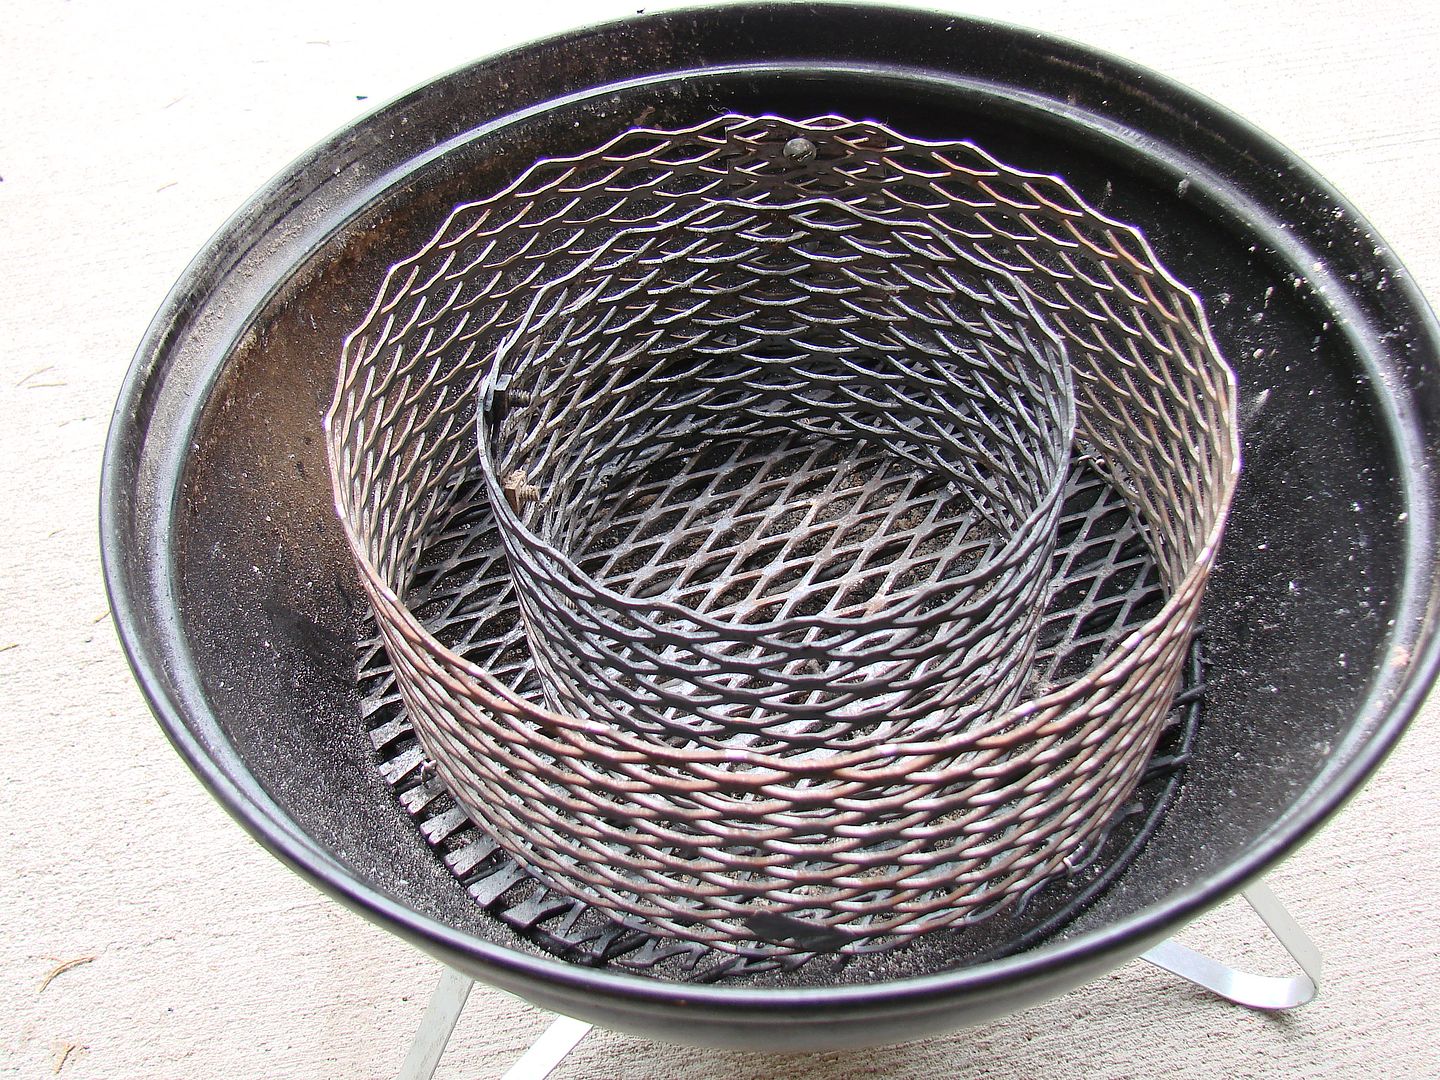
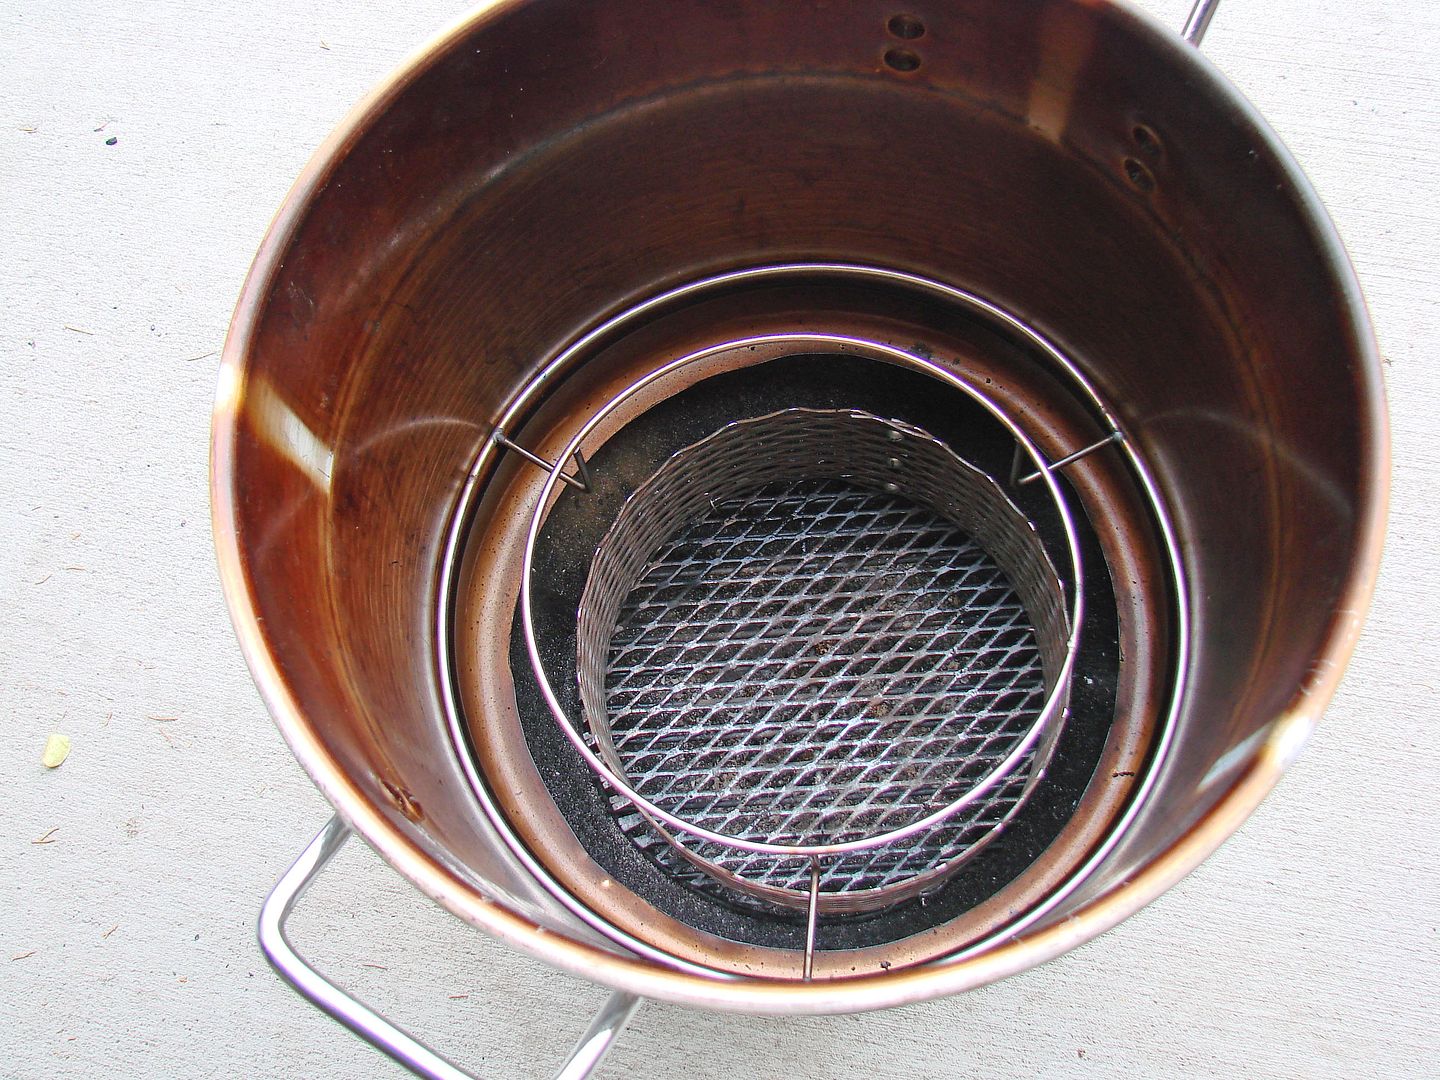
The next part of the build is a charcoal basket, because I prefer using natural lump charcoal. My basket has a bottom circle of expanded steel and a charcoal ring wired to the bottom circle. The original charcoal grate is still used under my charcoal basket. I also made a mini ring that will be used for shorter cooks, it just sits inside the larger ring.
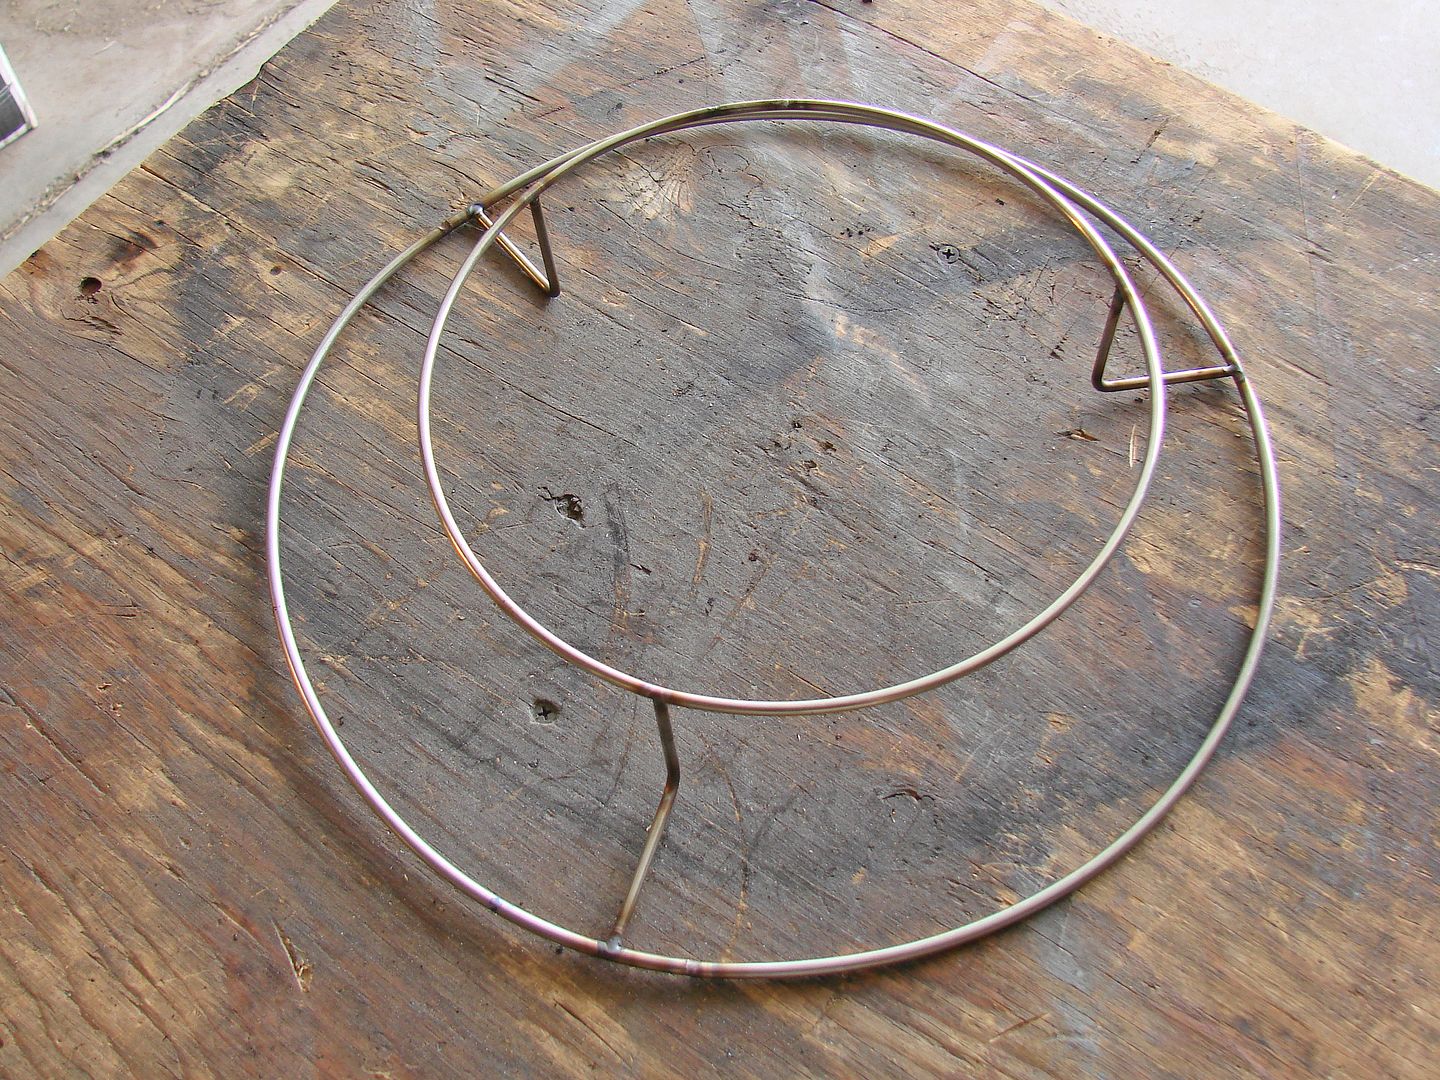
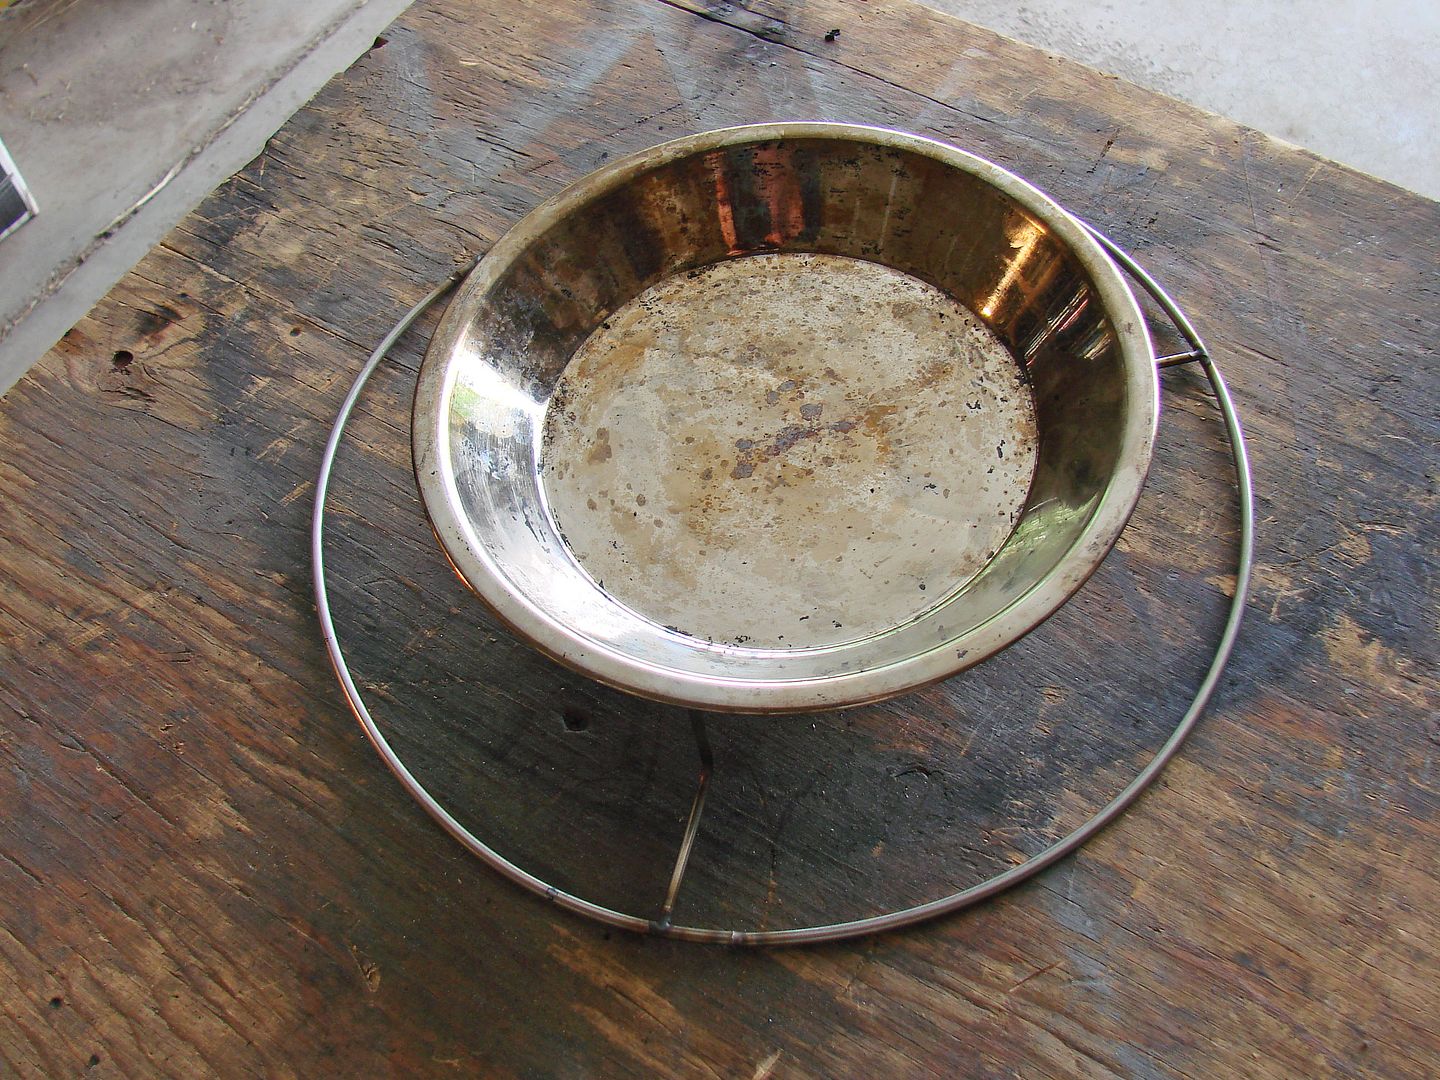
I wanted an option of a drip pan / heat shield for cooking indirect, and there is a natural ledge toward the bottom of the steamer (that is where the perforated steamer rack fits), an additional grate would fit on that ledge and could hold a drip pan, however that location is really close to the charcoal basket. My next step was to fabricate a double ring. The large diameter ring sits on the ledge, the smaller ring is attached to risers to get it farther away from the charcoal basket and it's sized to fit a standard pie pan.
So far, I've only done a few test cooks so I'll be updating this page from time to time, especially if I make additional modifications. I would appreciate any and all feedback/tips/suggestions from my readers as this is a popular build and only set me back about $75.
![]()